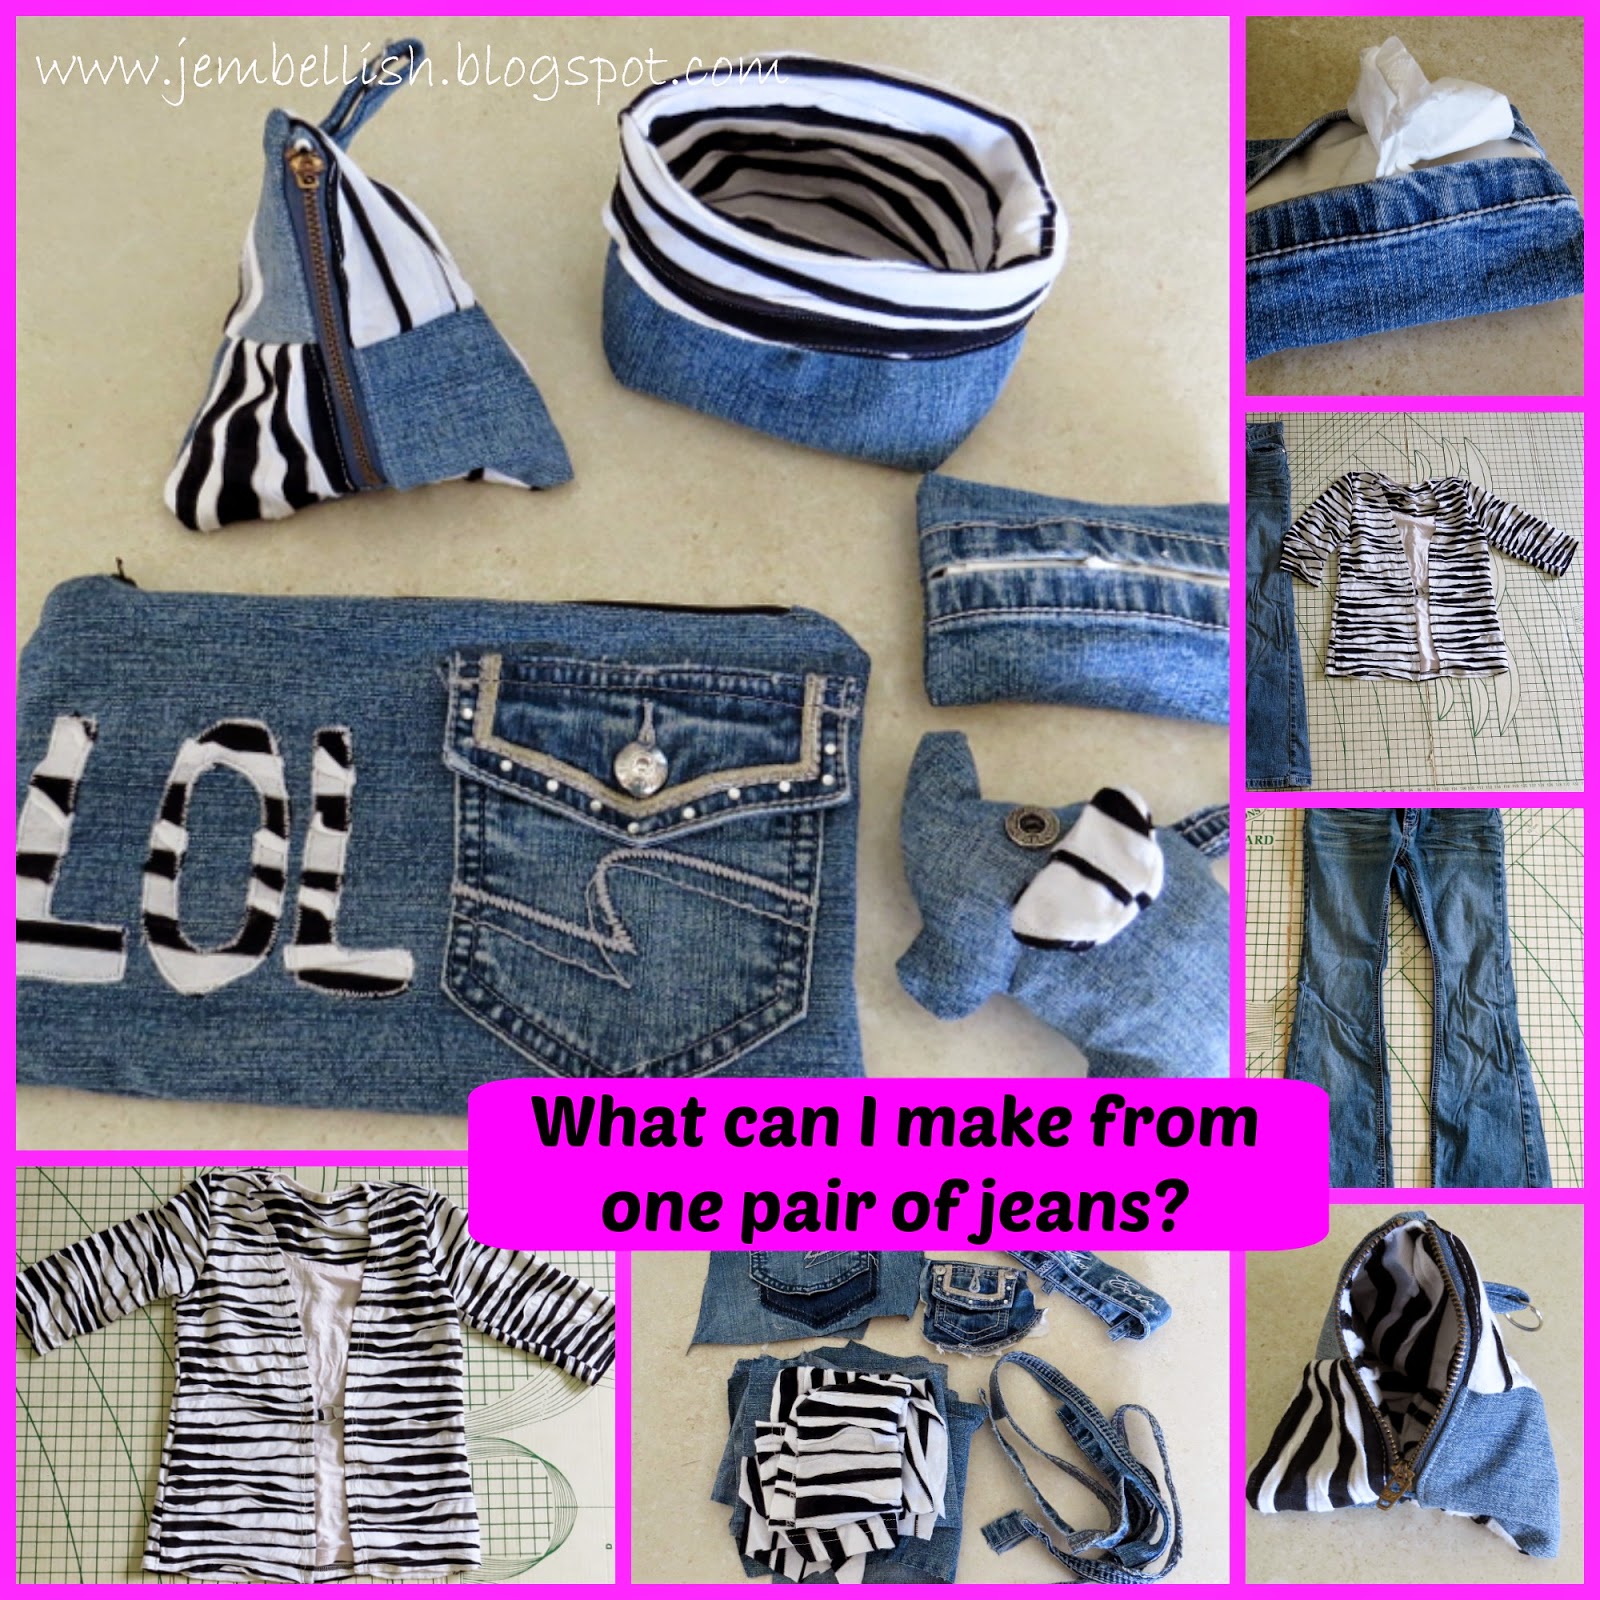
Challenge number 2 in our 12 Days of Christmas DIY Challenges is to make a Christmas gift from an old pair of jeans.
I cheated a little on this challenge and used small scraps from several pairs of jeans. I do a lot of jeans upcycling projects and rather than cut up another pair of jeans this time, I thought it would be good to use up some of the many denim scraps I have left over from previous upcycles! I used the scraps to make a larger patchwork piece for the diary cover - but you could just cut a larger piece direct from a pair of jeans for a slightly plainer cover.
Every year I buy myself a cheap diary. I still like to write things down rather than just use a computer schedule or diary! I never spend the extra few dollars to get a fancy cover on my diary - just getting the plain boring versions like this on on the left:

But it cost me nothing to make myself a fancy cover - that I can reuse every year!
This would make a great Christmas gift - simply buy a cheap diary or notebook to slip inside!
Doesn't that look better than plain black?

And with a pocket in front to keep a pen or small notes in, and a small fastening at the side, it's not just pretty but functional too!
So here's how to make an upcycled denim diary cover - perfect for a Christmas gift!
You will need:

Denim fabric scraps from jeans
A jeans back pocket
Co-ordinating fabric
A button and the buttonhole end of the jeans waistband.
This cover is made for a thick A5 size diary. I measured around the width of the diary and the length from top to bottom, adding 2.5 cm (1") to each measurement to allow for seam allowances. These were the measurements I used for the main pieces of fabric. If you have a different sized diary - just measure your diary in the same place as shown in the picture below and add your seam allowances.

So all the cut pieces you need are:

2 rectangles of fabric, one denim, one co-ordinating fabric
34 x 24 cm (13.5 x 9.5").
2 side panels of co-ordinating fabric
(for the ends of the diary to slide into)
24 x 10 cm (9.5 x 4")
To make the main patchwork denim cover.
You can choose to use a single piece of denim cut from the leg of a pair of jeans - or use scraps to create a patchwork cover like this:

Cut about 20 rectangles from scraps 6 x 12 cm (2.5 x 4.75")
Arrange these to form a rough rectangle that will look much bigger than the finished size you need for the diary cover.

Join your pieces together first in strips - with right sides together.

And iron the seams open.

Then join each strip - right sides together one by one - lining up the seams. Continue adding strips until you have formed one large rectangle. Then once again press the seams open.

Now lay your main inner fabric rectangle at an angle on top of your patchwork denim piece, and cut around to make the same size piece.

Now to add your denim pocket. You can either unpick the pocket from the jeans, or simply cut carefully around the pocket and leave the backing fabric on. I did this and so have a 'double' pocket on my cover!
Pin your jeans pocket to the middle of the right half of your main denim patchwork piece. Then stitch around the sides and bottom over both lines of stitching.

Now you need to add your waistband fastening.
Lay the end of your waistband on the left hand side of the main denim piece - face down so that right sides of the fabric are facing.

The waistband piece should reach 7.5 cm (3") into the main rectangle. Stitch into place.

Add the button
Take your button and place this just to the right of the middle of the jeans pocket.

Stitch into place securely.

Your outer piece is now ready.
Preparing the inner piece
Take your main inner fabric rectangle and the two side panels.
First double turn a long edge and stitch on the left of one and the right of the other side panel.
(where I am pointing in the picture below!)
This is to hide the raw edges as these will be the exposed parts of the panels.

Now place these two panels on top of your main rectangle on either side, lining up your raw edges.

Pin and stitch all around the edges to hold these panels in place.

Your outer and inner pieces are now ready to join together!

Joining the front and back
Place your two rectangles one on top of the other, right sides together. Pin around all four edges, but leave a gap of about 10 cm (4") on one side - where the waistband fastening is.

Tuck the waistband piece in so the fabric lies flat - and stitch around all four edges with a generous 5/8" seam.
Turn your cover right sides out.

Trim the seams and corners.

Push the corners out and iron around the edges. Make sure your waistband fastening is pulled out - then fold the raw edges in at the gap and pin closed.

Top-stitch along this edge to close the gap.

Your diary cover is now finished!


Slip in your diary.

And your gift is ready!


For the free downloadable PDF version of this tutorial, click here.
This is just one idea of a gift you can make using an old pair of jeans.
For plenty more ideas and tutorials for gifts you can make from jeans, take a look at the challenge post here - and feel free to link up any of your own ideas to the linky party there too!
And do come back tomorrow for Challenge number 3 in our
12 Days of Christmas DIY Challenges!
----------------------------------------------------------------
----------------------------------------------------------------
For 12 days starting on November 2nd we will set a challenge a day to create something for Christmas using just the resources you have on hand.
The idea is to show that Christmas Shouldn't Cost the Earth. If you're reading this, chances are you love to craft, but why not craft with the resources we have on hand - let's get creative!

Each day a challenge will be set by means of a video and blog posts giving some suggested ideas and crafts. These posts will also contain a linky party for anyone and everyone who wants to join in to link up their projects - both past and present, that answer the challenge. The linky party can be found on all our blogs and we'll try and come up with different ideas and tutorials for the challenges too. So please to visit us all, and then share your ideas with us as well! We're looking forward to seeing how these challenge are met!
Ready, Steady....Let's Christmas Craft!
The 12 Days of Christmas DIY Challenges is brought to you by
The idea is to show that Christmas Shouldn't Cost the Earth. If you're reading this, chances are you love to craft, but why not craft with the resources we have on hand - let's get creative!

Each day a challenge will be set by means of a video and blog posts giving some suggested ideas and crafts. These posts will also contain a linky party for anyone and everyone who wants to join in to link up their projects - both past and present, that answer the challenge. The linky party can be found on all our blogs and we'll try and come up with different ideas and tutorials for the challenges too. So please to visit us all, and then share your ideas with us as well! We're looking forward to seeing how these challenge are met!
Ready, Steady....Let's Christmas Craft!
The 12 Days of Christmas DIY Challenges is brought to you by
Jill @ Creating my way to Success
Vicky @ Vicky Myers Creations
Anna @ Tea and a Sewing Machine
Pam @ Threading My Way
Anne @ Domesblissity

Previous Challenges
Challenge 1 - Upcycle old clothes to Christmas Decoration
Vicky @ Vicky Myers Creations
Anna @ Tea and a Sewing Machine
Pam @ Threading My Way
Anne @ Domesblissity

Previous Challenges
Challenge 1 - Upcycle old clothes to Christmas Decoration