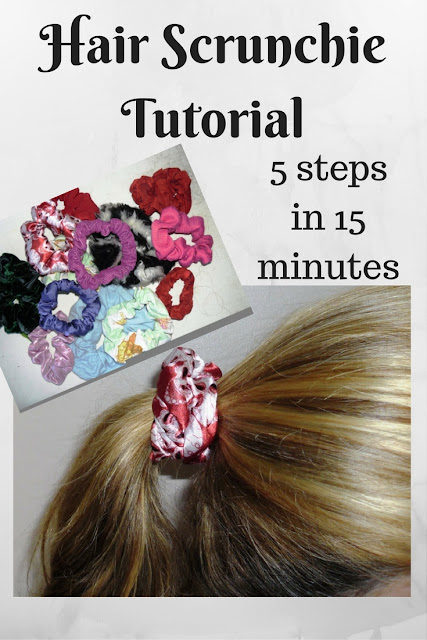
Hair scrunchies can be made whatever size you like to suit your hair length and thickness.
This one is the right size for my hair which is long and thick. But as the fabric does just 'scrunch' up - you can just cut roughly as wide and long as you like for bigger or smaller ruffles!
Step 1
Cut a piece of elastic and a length of fabric.
I used elastic - 20cm (7") long and 1cm (0.5") wide,
and fabric 56cm (22") long and 6.5cm (2.5") wide.
Fold over one short end of the fabric and pin then stitch one end of the elastic to it.
Step 2
Fold the fabric in half, right sides together along the long edge, and stitch all the way down.
Step 3
Attach a safety pin to the loose end of the elastic, then push the pin and elastic through the fabric tube, so turning it right sides out.
Step 4
Now turn the safety pin around and push the elastic back through the tube until the elastic reaches the other end of the tube. Pin and stitch it to the end.
Step 5
Now gently push one end of the tube into the other end and stitch closed. Run 2 or 3 rows of stitching over this to secure.
And there you have a hair scrunchie!
You can make them with any kind of fabric and any size you choose.
For the downloadable PDF version of this tutorial, click here.
For more simple tutorials for useful things to sew in just
5 steps and 15 minutes
There are also many more tutorials both simple and more detailed, but all with lots of photos and clear instructions on


Awh, that's rad, I always wondered how to make these! Have to try when I have a sewing machine again! ^^
ReplyDeleteScrunchies were THE must have hair accessory in the 80s and I've always liked them. So easy you could make one for every outfit. Great tutorial, Jill! I'd love you to link this up to our Hair Accessories Link Party.
ReplyDeleteThese are great! I made one because my hair always gets messed up from hair bands, and these were comfortable and didn't mess up your hair, thanks so much for the tutorial!
ReplyDeleteThanks for this...have a couple to make for a dance performance...will have them whipped up in no time. x
ReplyDelete