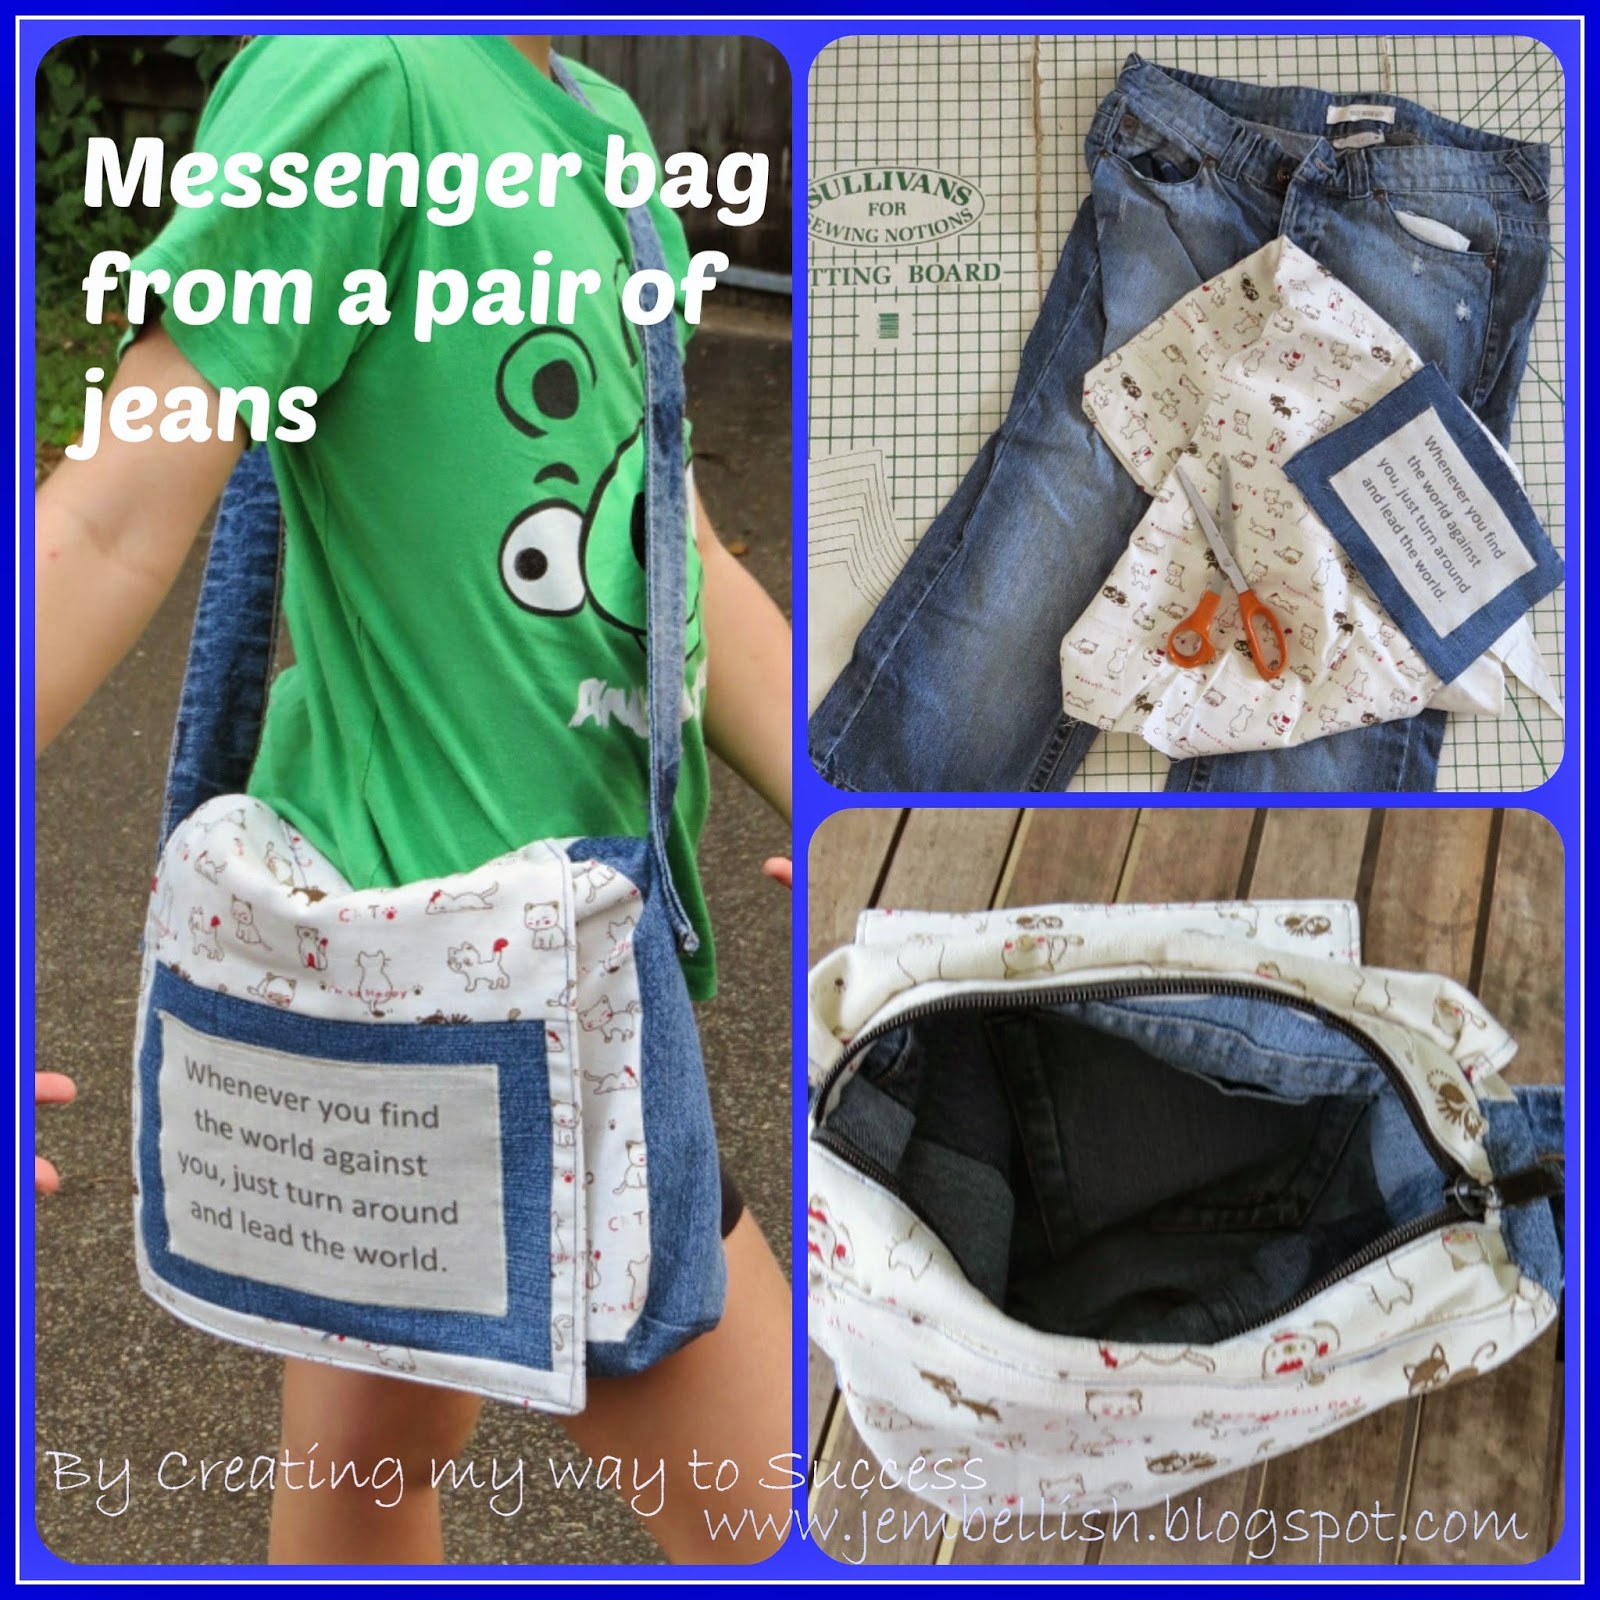
I love making bags from old jeans. This is my latest one. I wanted to use the waistband for the top 'mouth' of the bag as I figured it's the perfect size. I like that you can see some of the original structure of the jeans (waistband and pockets) but that it still looks more like a bag than a pair of jeans!
Here's how you can make one of your own.
You will need a pair of old jeans, pretty fabric for the outer bag and more fabric for the lining.
.jpg)
First cut the waistband from the jeans, cutting about 2 cm (just under 1") down from the edge of the waistband.
.jpg)
Then with the button at the front of the waistband fastened, measure the width of the waistband like this:
.jpg)
Mine was 36 cm (14").
Add 1cm (0.5") for the side seam allowances, this will give you the width to cut the fabric for your bag.
(Mine was 37cm (14.5"))
Once you have the width of your bag, you can make it any length you choose, depending if you like a deep or shallow bag. The following are the measurements I chose, but remember you can alter them to custom your bag to the size you want!
You will need to cut:
Denim from the jeans:
For the base of the bag, 1 piece 37 x 28 cm (14.5 x 11").
For the straps:,2 pieces 70 x 10 cm (27.5 x 4")
Unpick the two back pockets from the jeans.
Outer fabric:
2 pieces 37 x 27 cm (14.5 x 10.5")
Lining fabric:
2 pieces, 37 x 40 cm (14.5 x 16")
Now to construct your bag.
Take the denim piece and the 2 outer fabric pieces, Pin, then stitch the outer fabric pieces to the base denim piece right sides together, one on either side like this:
.jpg)
Then open out flat. This is your outer bag section.
.jpg)
Now take your jeans back pockets and place on the outer pretty fabric where you would like them. I put one on either side here and on my other bag where the pockets were smaller I put them both on one side. (Just make sure the open ends of the pockets are facing the top of the bag.)
.jpg)
Pin then stitch the pockets into place, following the line of stitching you unpicked when you removed the pockets from the jeans.

Now fold your outer bag section in half, right sides together to form the bag shape. Match up the seams on either side, then pin and stitch down both sides.
.jpg)
.jpg)
Box out the corners of the bag
This is to give your bag a flat base.
With the bag still inside out, put your hand inside the bag up to one of the corners and open it out. Now flatten the corner towards you matching up the side and bottom seams to form a triangle like this:
.jpg)
.jpg)
.jpg)
Pin across that triangle about 6 cm (2.5") from the point, then stitch along that line:
.jpg)
Repeat with the other corner:
.jpg)
Then cut off both corners just past the lines of stitching.
.jpg)
Now to make your inner bag.
Take your two inner fabric pieces and lie them right sides together. Pin, then stitch around the 3 bag sides. Make sure the longer side is at the open top end of the bag.
.jpg)
Leave a gap in the stitching about 10 cm (4") wide for turning the bag right sides out at the end.
.jpg)
Your inner bag is now finished.
.jpg)
The Straps
Take one denim strap piece. Fold the outer long edges in towards the centre like this:
.jpg)
Then fold both edges together so the long raw edges are completely enclosed. Top stitch down both sides of the strap, and repeat with the other strap.
.jpg)
Your straps are now finished.

Putting it all together
Line up one strap on either side of the outer bag with the raw edges matching. Make sure the strap is not twisted. I just eyeball where to put my straps, but they are about 8 cm (3") in from each side seam.
.jpg)
Pin then stitch into place.
Next take your jeans waistband and fit it right side facing the outer fabric with raw edges matching up.
.jpg)
Pin then stitch into place. Be careful here there will be some thick layers to stitch through. I would recommend a denim machine needle and going slow over the thick parts. There may also be buttons or rivets in places, so go slow and watch out for those!
Now place your outer bag inside the inner bag with right sides of both facing each other.

Pin all the way around the top then stitch.
Finally, turn your bag rights sides out through the gap in your lining. Then pin and hand stitch the opening closed.
.jpg)
And now you have a finished Waistband Tote!

You can make it in whatever fabric and colour you choose!

For the downloadable PDF version of this tutorial, click here.

If you liked this tutorial - there are many more of my
I have also produced an e-book combining several upcycled bag tutorials and patterns to help reduce or eliminate use of plastic bags!

Happy Sewing and Upcycling!


.jpg)
.jpg)
.jpg)
.jpg)

.jpg)
.jpg)
.jpg)
.jpg)
.jpg)
.jpg)
.jpg)
.jpg)
.jpg)


.jpg)
.jpg)

.jpg)
.jpg)
.jpg)