Plus another yellow pair that missed the photo, but my younger daughter remembered from the bags and found for me after I'd started!
Pencil cases sprung to mind as something that would work well with these. I wanted to try and make use of the various parts of the jeans - here's what I came up with.
It's a basic lined pencil case design, with a pocket on the front. (useful for secret notes perhaps!)
You can add your own embellishments to the front of to personalise as you choose.
Here's how to make one of your own.
You will need a pair of jeans, some co-ordinating fabric, a zip and some fusible webbing for the applique. The measurements are adjustable depending on what size pencil case you want. These are the measurements I used.
Cut from jeans: 2 pieces 30 x 16 cm (12 x 6.5")
2 rectangles for the zip ends 6 x 4 cm (2.5 x 1.5")
Unpick 1 back pocket.
Cut from co-ordinating fabric: 2 pieces 30 x 16 cm (12 x 6.5")
2 rectangles for the zip ends 6 x 4 cm (2.5 x 1.5")
1 pieces for the applique 20 x 9 cm (8 x 3.5")
Cut from the fusible webbing: 20 x 9 cm (8 x 3.5")
1 zip: 32cm (12.5")
First you need to add the decoration you choose to the main front of your pencil case. Take one main jeans part, your co-ordinating fabric for applique and the fusible webbing.
Following the instructions on the fusible webbing, iron it onto the back of your co-ordinating fabric. Also take your jeans back pocket as you need to add applique to this.
Mine is in two pieces here - one for the word and one for the sweet.
Now draw or write your design on the paper backing of the fusible webbing. You must write or draw a mirror image of what you want as this is the back of your fabric, so you will have to turn it over to place on your main fabric.
Cut out the letters and designs and place on the main front part of your pencil case.
Then once again following the instructions on your fusible webbing, peel off the backing of each piece and iron onto the main fabric. For mine I need to cover the pieces with a damp cloth and iron that to hold them in place.
Note: the jeans pocket is not fixed at this point, only laid on top for spacing and placement.
Then using the applique setting on your jeans, or a tight zig-zag, stitch around the edges of your lettering and other design - in my case the sweetie.
I also wanted to add small 'ties' to each end of my sweetie, so I hand stitched on some small ribbon scraps.
Next you need to secure your back pocket to the main pencil case part. Pin into place then stitch following the lines that show where you unpicked the pocket from the jeans. I used the co-ordinating fabric thread.
Now you've finished the personalised decoration. It's time to put your pencil case together.
First take your zip and the small rectangles of both fabrics. You will use these for the zip ends.
Place the two outer fabric rectangles on top of the zip at either end and the two inner fabric rectangles under the zip - right sides of both fabrics should be facing the zip.
Now pin the rectangles to the zip so the raw edges are around 2.5cm (1") from the outer edges of the width of your pencil case
Stitch across where you have pinned, running the stitches backwards and forwards a couple of times for added strength.
Then trim the ends off the zip off beyond your stitching.
Open up the fabric back from the zip and trim in line with the zip edges. You should now have a zip the size you require with fabric ends.
Now to attach the zip to the main fabric.
Lay the zip face down at the top of your main front piece.
Lay one of the inner pieces face down on top of this.
Pin through all 3 layers keeping the edges in line, then stitch using the zipper foot on your machine.
Pull back both layers of fabric from the zip and top-stitch close to the zip teeth to prevent the fabric from catching in the zip when it is opened and closed.
Now place this piece on top of the other inner fabric piece which is facing upwards. Then your final outer fabric piece face down on top of that.
Once again line up the edges, pin then stitch through all three layers with the zipper foot on your machine. Pull the layers back and topstitch on the other side close to the zip.
Open out your pencil case like this
And trim the edges of the zip in line with the rest of the fabric.
OPEN YOUR ZIP NOW!
This is very important to do at this stage so you can turn your pencil case right sides out!
Fold the case so that your two outer fabric pieces are facing right sides together and your two inner fabric pieces are facing right sides together.
Pin around all 4 edges, leaving a gap of around 10 cm (4") in one side of the inner fabric. You will need this to turn the pencil case right sides out after you stitch.
Turn the pencil case out through the gap in your stitching
Now pin the opening closed and hand stitch.
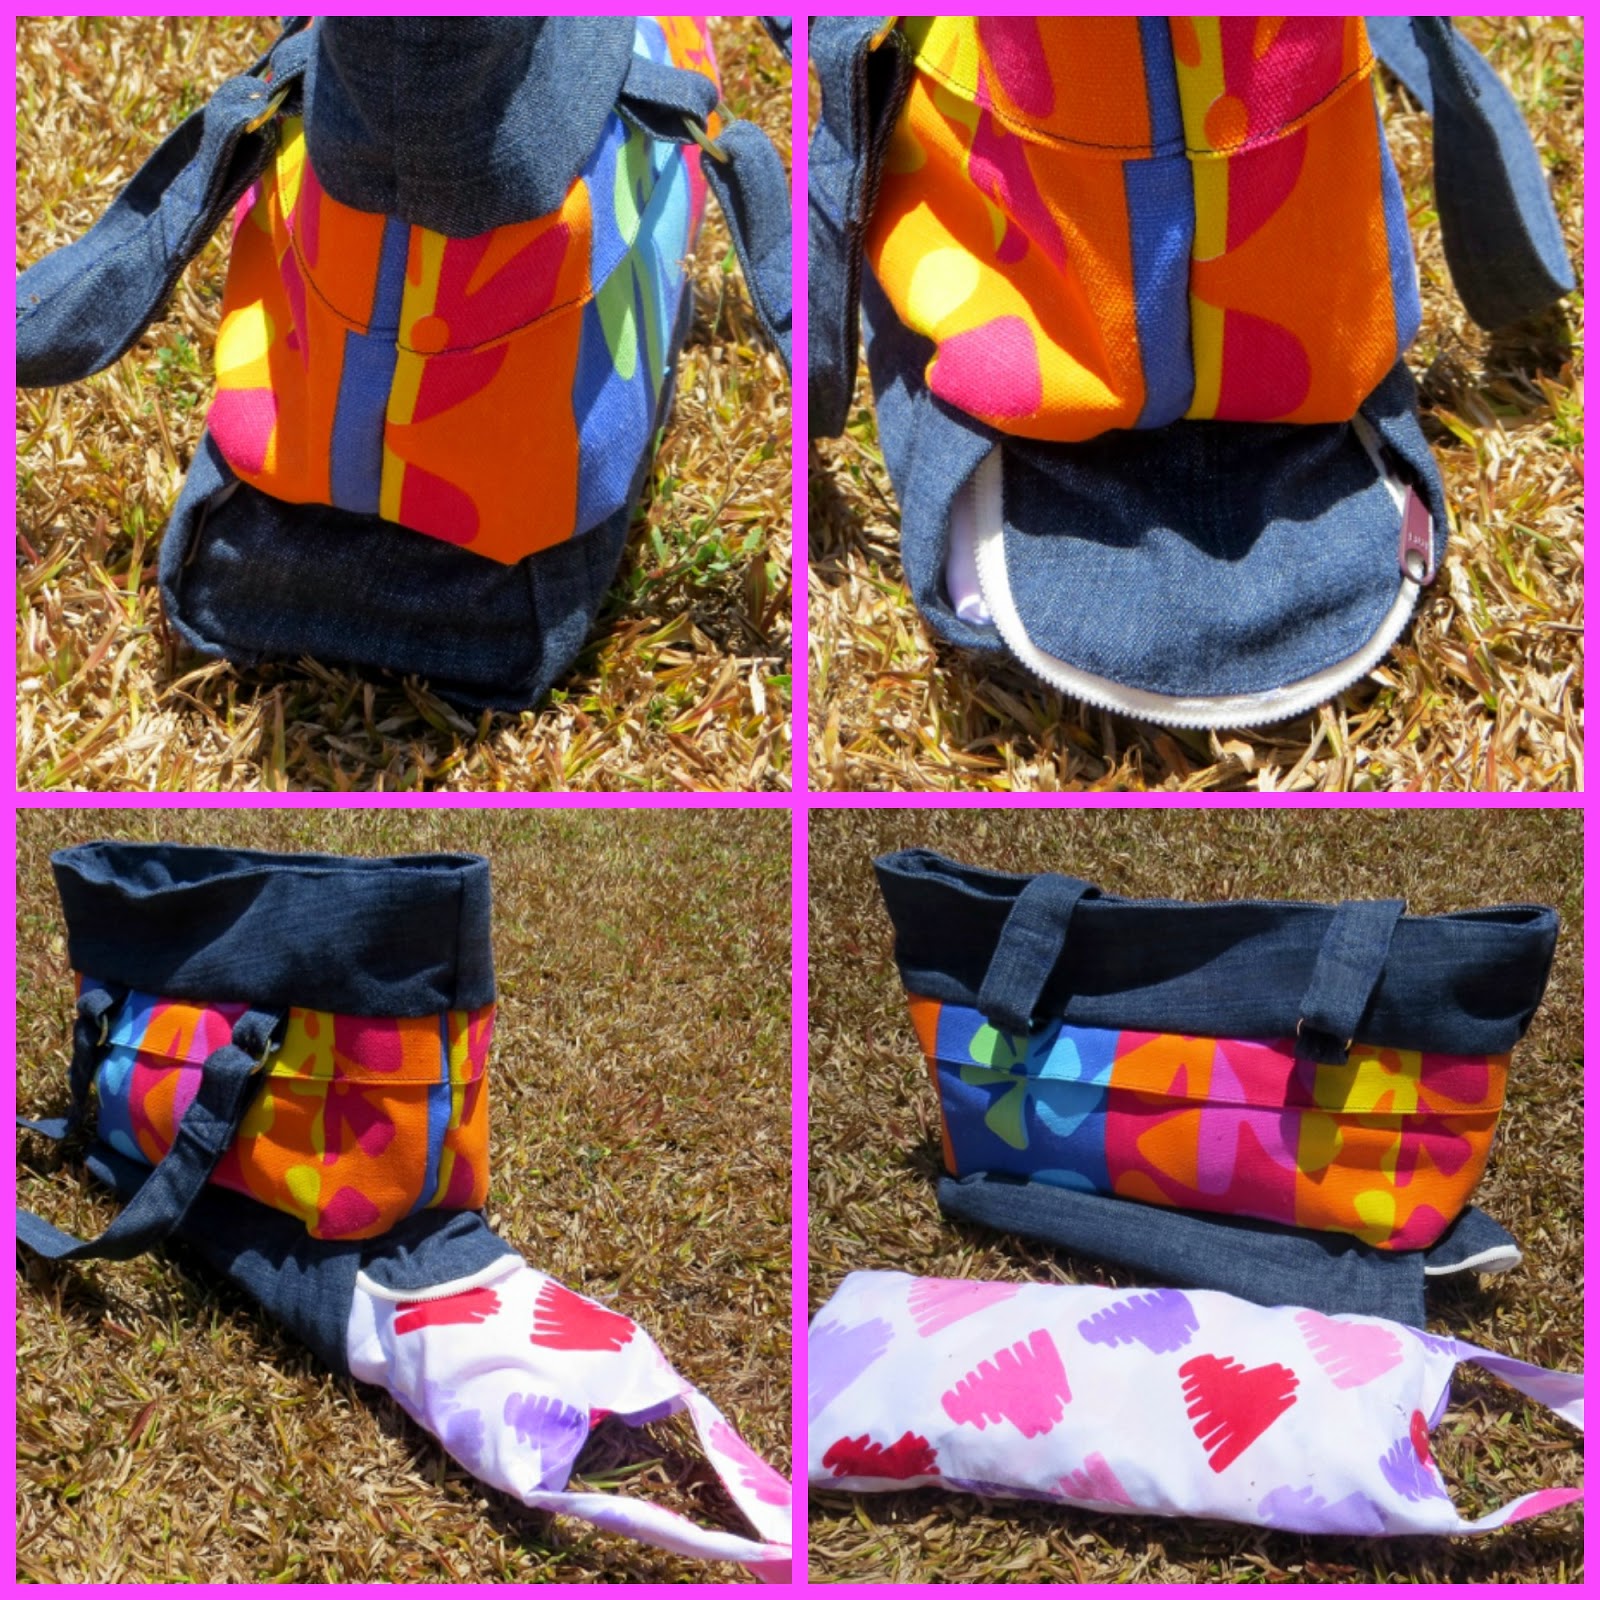
And there you have your finished personalised pencil case from jeans!
My girls helped me brainstorm the words to appliqué on and I made a selection of pencil cases from different colours!
So what do you think?
Will they be a hit at the school stall?
I hope so. My girls tell me they will, but they like everything I make so another opinion would be good!
I like them and think I might be making more of these - some from different shades of blue jeans too!
For the free downloadable PDF version of this tutorial, click here.
-------------------------------
If you liked this tutorial, I have over 100 free tutorials for all levels and abilities of sewing, including several more pencil case designs and more upcycle tutorials.
You can also follow me on Facebook where I share my creations and plenty more upcycle ideas.

.jpg)

.jpg)

.jpg)
.jpg)


.jpg)
.jpg)
.jpg)
.jpg)
.jpg)
.jpg)
.jpg)

.jpg)
.jpg)
.jpg)
.jpg)
.jpg)
.jpg)
.jpg)
.jpg)
.jpg)
.jpg)
.jpg)

.jpg)
.jpg)
.jpg)
.jpg)
.jpg)
.jpg)
.jpg)
.jpg)
.jpg)
.jpg)
.jpg)
.jpg)
.jpg)
.jpg)
.jpg)
.jpg)
.jpg)
.jpg)
.jpg)
.jpg)
.jpg)
.jpg)


