Make your own handbag complete with hidden set of fabric shopping bags you'll never forget!


Next week is the annual 'Zero Waste Week' in the UK - a week to promote awareness and encourage people to stop creating so much waste, to reuse, reduce and recycle.

There are so many ways to reduce the waste you produce - by being more aware of the things you are buying and using.  

One simple thing we can all do, is to say no to single use plastic bags and take our own reusable bags.

A few years ago I made myself a set of reusable fabric bags for my weekly grocery shopping. 

I used these regularly and happily refused around 10 single use plastic bags every week. 
BUT there were times when I forgot my bags, left them at home or in the car and was stuck with another load of those nasty single use plastic bags!
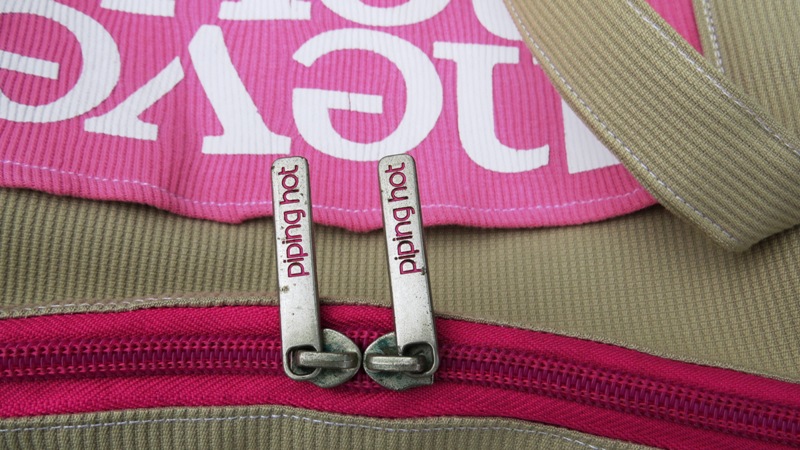
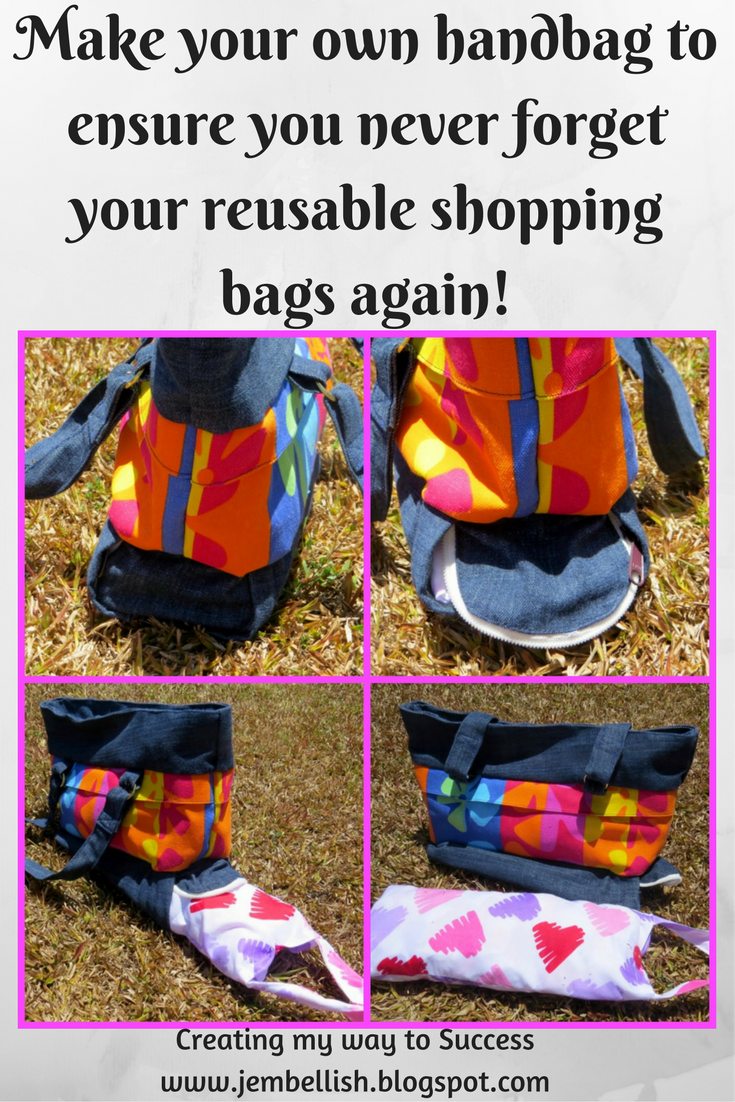
So I designed myself a handbag that has a hidden compartment on the bottom where I store my reusable fabric shopping bags, and now, I never forget them or leave them in the car!

It also has side pockets which contain reusable grocery bags for my fruit and vegetables. 


AND there's also a sneaky handibag inside for any other shopping I happen to do!


I packaged together all these sewing tutorials to share in an e-book so others can make their own complete set of reusable shopping bags too, and never need a single use plastic bag again!

I used old bed linen, net curtains and a pair of old jeans to make my set of bags - so all upcycled and at a cost to me of almost $0 !!  My only expense was my time.


I have priced this e-book very reasonably at just the cost of a cup of coffee to encourage as many people as possible to make their own set of reusable shopping bags. The cost is just
AU $5

So if you'd like to 'share a cuppa' with me and make your own set of reusable shopping bags that you will never forget, then simply email me on jillinamillion@y7mail.com to order.
  All the sewing tutorials are as detailed as possible with clear descriptions and lots of photos. 

Happy Sewing!


How to make your own Yoga Mat Bag


This bag came about because I was looking to upcycle a few old sports tank tops that were too stretched to wear but I really liked the words and quotes on the front.

Thinking of sporty things to make, I started with a sports duffel bag with the first top:

Then I decided to make something new with the second one.  My eldest daughter has recently started doing yoga and got her own mat for her birthday a few months ago. So a bag to carry her mat it and keep it clean seemed like a good idea!

I just made a simple drawstring bag with a carry handle and add the quote from one of my old tank tops to the main part of the bag.

Here's how you can make your own yoga mat bag!


You will need some fabric, and cord and a toggle for the drawstring.

For the bag cut:
 a rectangle of fabric 80 x 52 cm (31.5 x 20.5")
a circle 17 cm (6.75") diameter
( you can download the free circle template here)
for the strap 104 x 14 cm (41 x 5.5") 
I also cut the slogan from the front of my old tank top to attach to the bag too.
you also need, cord 66 cm (26'") and a toggle


If you have a logo or picture you want to add to the bag - do this first.
I used fusible webbing to iron my tank top part onto the main bag part and applique stitched around the edge to secure.


To make the strap.

First fold one short end of your strap over and iron.

Then, take your long piece of fabric and iron in half length-ways. 

Then open out and fold both edges in towards the crease and iron again.

Then finally fold the whole strap in half and iron again. 

All your raw edges will now be enclosed except for one end of the strap.
Top stitch along both sides of your strap.

Your strap is now finished.


To make the bag.
Fold your main rectangle in half length-ways, Pin then stitch the edges together.

To prevent the seams from fraying, as this bag is not lined, finish off the seams using either an overlocker (serger) if you're lucky enough to have one; or just use a zig zag stitch or pinking shears.

Now turn your bag right sides out and pin then stitch your strap along the seam, with the raw edge in line with the bottom, 

And the finished end about 14 cm (5.5") down from the top end of the bag. Secure this end with a square and cross in the middle like this.


Now turn your bag back inside out and pin, then stitch your circle of fabric to the base of the bag, right sides of the fabric facing.


And once again finish the seam edges off with an overlocker (serger) , zig zag stitch or pinking shears.


Finishing the top of the bag
Using a seam ripper - open up a small gap in your seam about 2.5 cm (1") down from the top. This is to feed your drawstring through. Run a couple of stitches either side of where you have opened the seam to prevent the stitches from unravelling further.


To finish the top opening of your bag, first fold the top edge down about 1 cm (0.5") and stitch.


Then fold the end over again to form the casing for your drawstring. Make sure that the gap you just opened up in your seam is above your line of stitching.


Stitch all the way around.


Now take a large safety pin and use that to thread your drawstring cord though the casing.


Take the two ends of your cord and thread them through your toggle and tie securely. If you like you can use a small scrap of your fabric to enclose your knot. This makes it look prettier and also stops the knot from coming undone!


And that is your yoga mat bag finished!


All ready to go!


For the free downloadable PDF version of this tutorial, click here.

2 Tank Tops upcycled..

2 more to go. Do come back to see what I make with those later this week!


If you liked this tutorial, then for over 100 more ideas, take a look at 


Never Give up Sports Bag - tank top upcycle


This week I made a start on the tank tops in my pile of clothes to be upcycled.
I love my Lorna Jane tank tops and wear them over and over until they are stretched and saggy but I still can't bear to get rid of them!


So - yesterday I cut up the first pink tank top and made a sports bag using the quote from the front as the front pocket of the bag and fabric and zips from my stash.


I used my own duffel bag tutorial which gives measurements for 4 different sizes to make.
This one however, is a different size again - the same as another sports bag I made for myself three years ago - also with a worn and stretched Lorna Jane top!


I put just one zipped pocket on the inside of this new one - always useful to have.


And the main bag zip has two zip pulls on it - this was a reclaimed zip from an old backpack of my daughters.

This bag has gone to my younger daughter who I know will get good use out of it!


Here's a selection of some of the duffel bags I've made using this pattern.


I use my Sports Duffel Bag every week, and my daughters use theirs for swimming each week too.
 I hope my daughter gets as much use out of her new bag too!


Do come back next week to see what I make using the remaining three tank tops!


For lots more clothes upcycling ideas, why not visit the Clothes Upcycling Linky. There are over 600 ideas linked up!