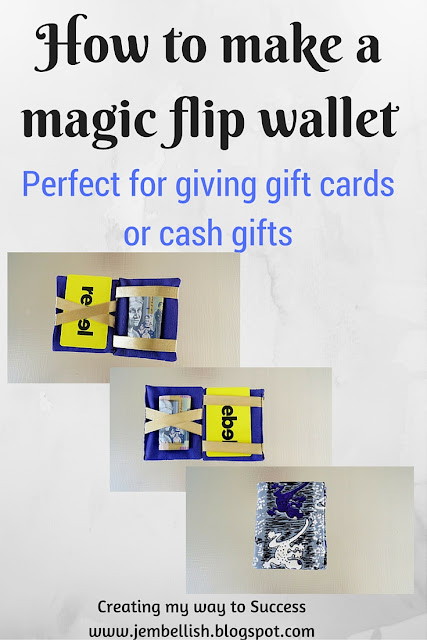
These cute magic flip wallets are a great way to give money or gift cards. They are fun and easy to make. Here's how they work:
To make your very own Magic Flip Wallet.
First cut your pieces
2 rectangles of outer fabric 11 x 9 cm (4.5 x 3.5")
2 rectangles of inner fabric 11 x 9 cm (4.5 x 3.5")
2 pieces stiff cardboard 9 x 7 cm (3.5 x 2.75")
4 pieces ribbon 15 cm (6") long
Take one of your inner fabric pieces and lay one piece of ribbon across the top, around 2 cm (3/4") down from the top. Then lay another ribbon the same distance up from the bottom of the rectangle. it should look like this.
Place one of the outer rectangles face down on top and pin around the top, bottom and left side.
Now take your other inner rectangle and place the other two ribbon pieces and lay them in a cross in the middle of the inner fabric like this.
IMPORTANT: the outer edges of the ribbon cross at the edge of your fabric, need to be inside the two horizontal ribbons on the other piece, as shown by the arrows in this picture!
Place your other outer rectangle on top of this inner piece and pin around the top, bottom and right side.
Stitch around the edges where you have pinned. Then trim close to your seam and clip the corners.
Now turn both pieces right sides out - make sure and poke those corners right out using scissor or a chopstick/pencil. Then press flat, with the ribbons flat on the inner fabric sides like this.
Slide your cardboard rectangles inside each piece. You may need to trim them a little to fit and allow space to fold the raw edges in.
Take the rectangle piece with the straight ribbons and fold the raw edges in on themselves like this.
Now lay it flat and push the crossed ribbons from the other rectangle inside this un-stitched seam. Make sure your other rectangle is lying with the outer fabric facing upwards.
The gap between the two rectangle pieces should be the same width as the finished rectangle piece itself. Pin the seam closed and the ribbons into place. Then top-stitch the seam closed using your machine.
Finally, tuck the other rectangles raw edges in to form the final seam.
Flip over the rectangles so they are both inside fabric facing up with the ribbons across them. Push the horizontal ribbons into the other seam and pin into place.
You can then flip the right side over to the left, then lift the right edge again. Your pinned seam will now be on the right hand side and so now easier to top-stitch that final seam closed.
That's it! You're done. Slip in some money or a gift card and admire your magic flip wallet!
I just love these wallets and they are both a scrap buster and a perfect little gift!
I couldn't resist making a few more.
One from an old necktie.
Another with a printed and appliquéd quote on.
A couple of Christmas ones.
And some more with nice fabric from my stash.
I'm sure I'll make use of these Magic Flip Wallets for Christmas or other gifts!
Why not try making your own.
They would make a great novelty stocking filler!
For the free downloadable PDF version of this tutorial, click here.
I hope you enjoyed this tutorial.
For more sewing tutorials - you can visit
There are over 100 free tutorials to make all kinds of things and for all levels of sewing ability.


Well done :)
ReplyDeleteThank you!!
DeleteThanks for sharing!
ReplyDeleteThank you!
DeleteCute! Nice Maya Angelou quote! Thanks for sharing at Submarine Sunday!!
ReplyDeleteThanks T'onna
Delete