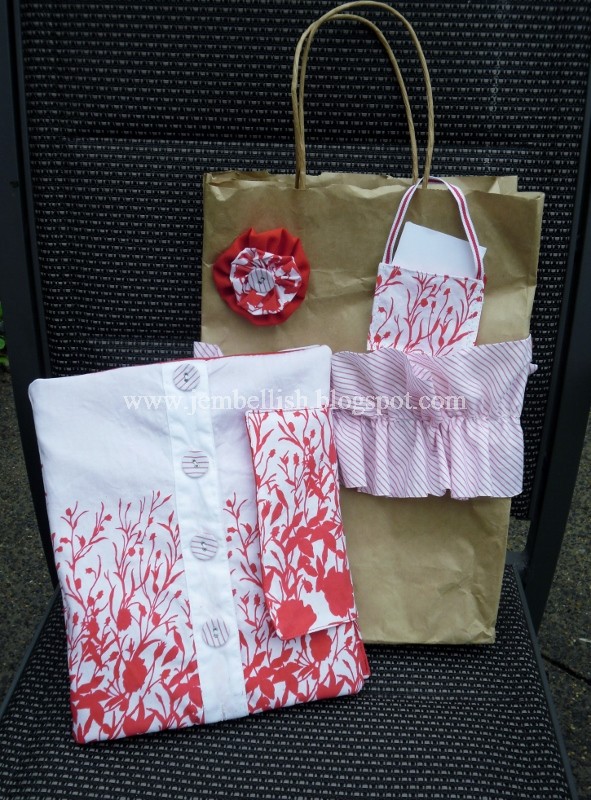
Today I want to show you how to make a very simple cover for a basic notebook like this:
We have heaps of these notebooks as the shops sell them for anywhere from 1c to 5c at the end of each year!
They measure 22.5 x 17.5 cm (9 x 7")
So this tutorial is for a notebook cover this size. But you can adapt this to any size book.
Simply cut fabric that is the height of the book plus 2 cm (0.75"), and the width of the book x 2 plus 18 cm (7").
So here's how to make a cute cover for a cheap basic notebook!
Step 1
Choose and cut two pieces of fabric 53 x 24.5 cm (21 x 9.75")
Step 2
Pin these pieces of fabric right sides together. Then stitch around the edges with a 3/8" seam leaving a gap of around 10 cm (4") to turn it right sides out afterwards.
Step 3
Clip the corners, then turn the fabric right sides out.
Press and top-stitch all the way around.
Step 4
Place your notebook on the inside of your cover and fold the cover in half.
Fold the edge of the cover over the edge of the notebook cover, and pin along the top and bottom edges.
With the book folded, repeat this with the other edge.
Step 5
Now open the cover out and remove the notebook.
Finally stitch the top and bottoms of the flaps where you have pinned along the line of your top-stitching.
Slip in your notebook and you're done!
Use different pretty fabric, or perhaps make your own patchwork fabric from scraps to use...
Or perhaps add embellishments to the front fabric before joining the two pieces together!
My daughter wanted one with a pocket on the front!
She's using it for her money saving record book - the pocket is for pictures she cuts from the junk mail of things she's saving for!
You could make a whole range of these for simple cute gifts..
Perfect for back to school time!
You could always match them up with a
For the downloadable PDF version of this tutorial, click here.
I hope you enjoyed this tutorial.
There are more simple 5 steps in 15 minute tutorials, along with over 100 other free sewing tutorials on