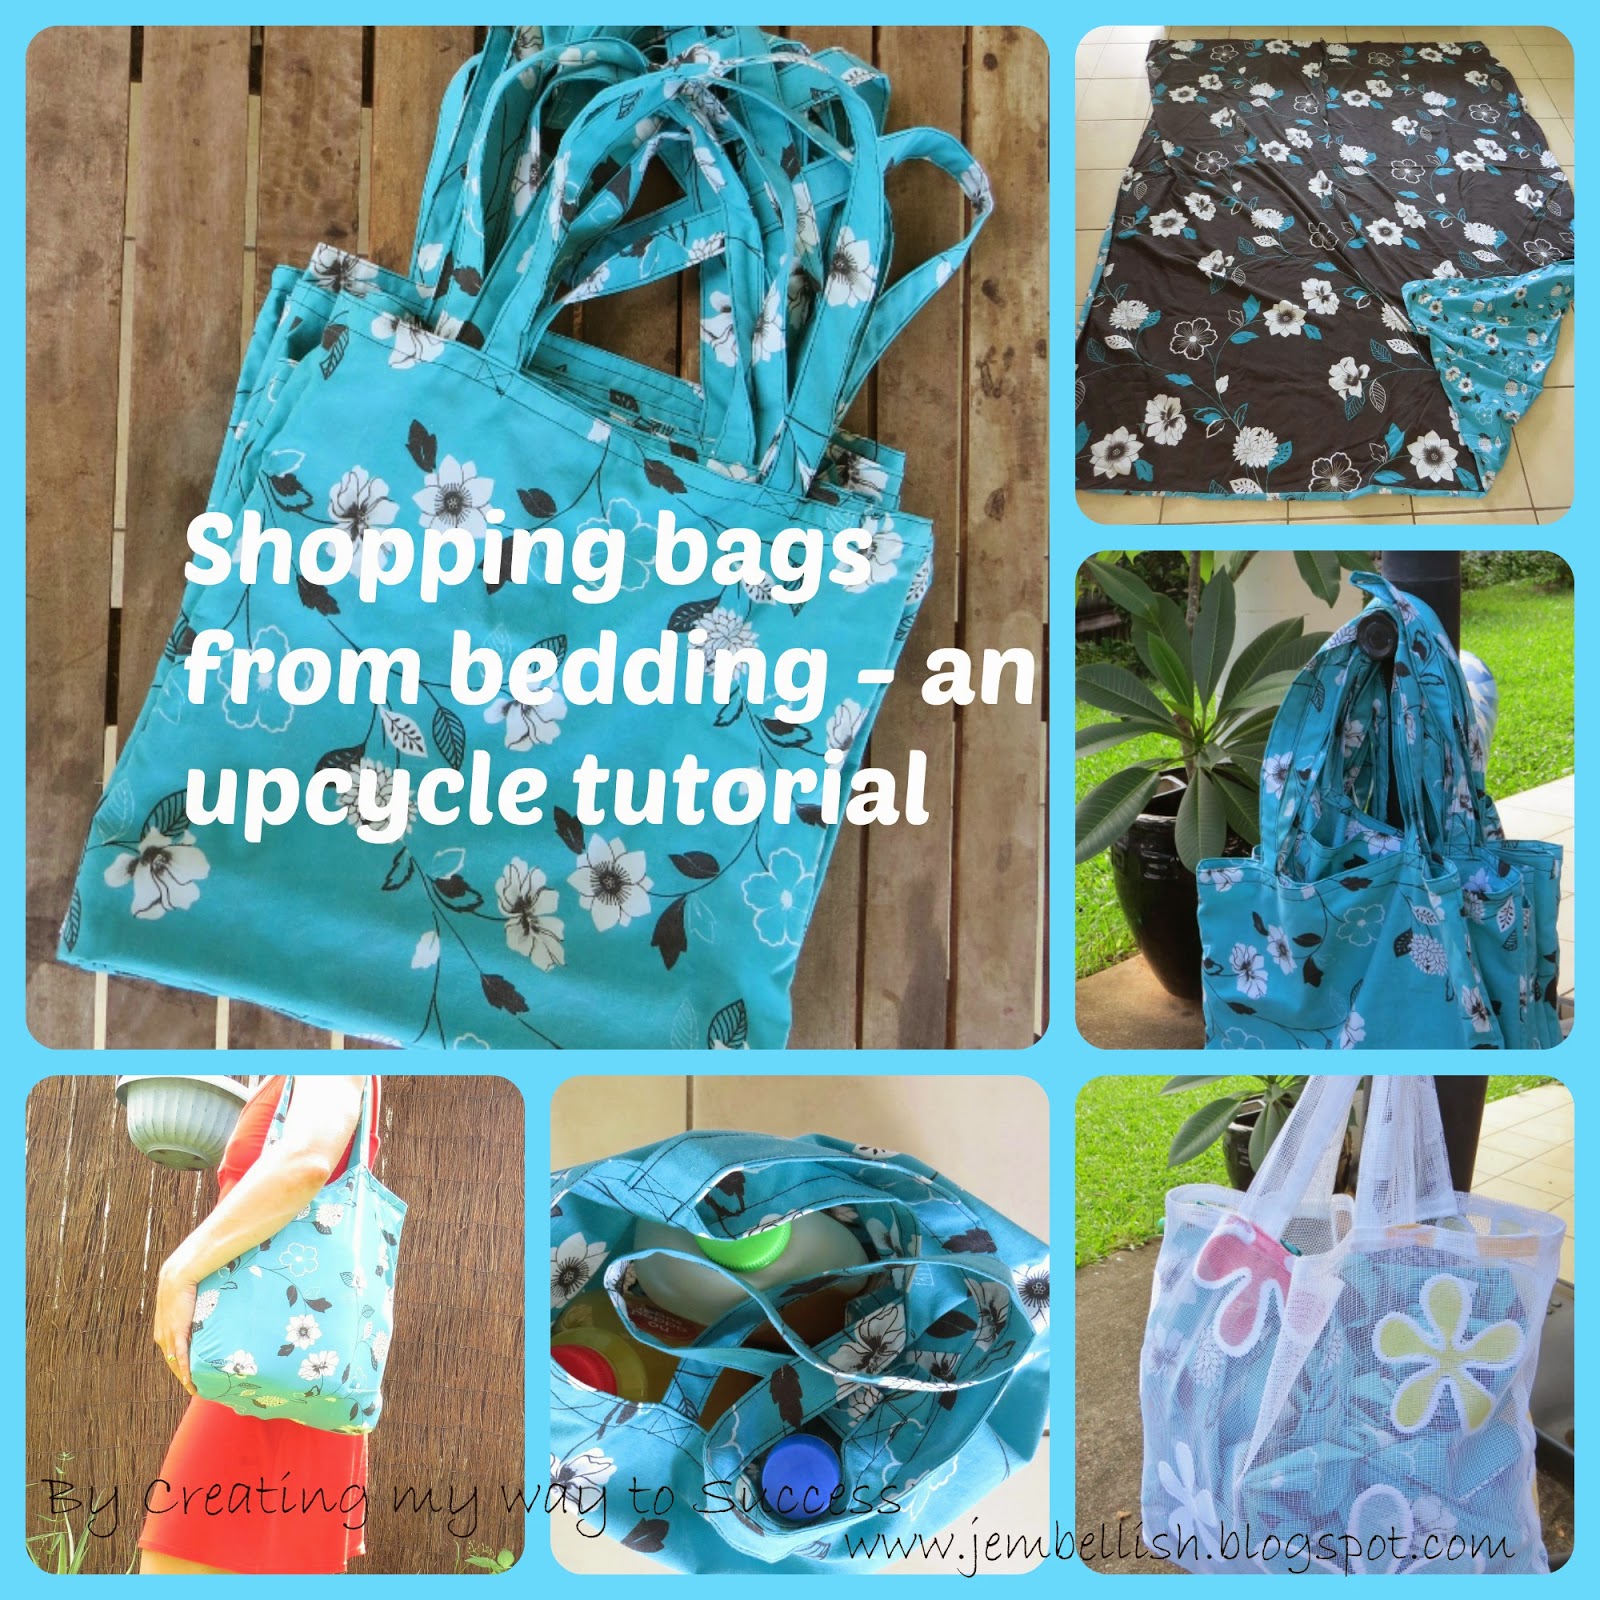
Four years ago now, I made my first set of shopping bags from an old sheet that we never used. I used them every week for my food shopping:
I made myself a second set too - so that one stays in the car, in case I forget to put the other set back after emptying my shopping out each week!
Four years on, these bags are still going strong.
I decided to make them after my supermarket 'green' bags began to tear and rip. One even biodegraded in our tropical heat and I found it in tatters one day on the floor! Some of the ladies who worked in the supermarket told me that often the bags begin to smell after a while too.
These bags from sheets have lasted and lasted so well. I've never had to repair any stitching or tears, can put meat products direct into them knowing that if the packet leaks, the bags just get thrown in the wash and they're clean and fresh smelling once again!
So have I convinced you yet? Do you want to make your own set of environment friendly - and pretty shopping bags?
I made myself a new set, just so that I could make up a tutorial! I'm sure I'll find a friend who would like a set that will gain them as a gift, as there are only so many shopping bags a girl needs!!
So, here's how to make your own sturdy shopping bags from old bedding.
I bought an old doona (duvet) cover from a charity shop for a few dollars to use for this.
First lay it out and cut off the seams.
Then for each bag you need to cut:
1 piece 90 x 43cm (35.5 x 17")
2 straps 62 x 10cm (24.5 x 4")
Main Bag Part
Fold the main bag part lengthways in half, WRONG sides together.
The next part makes the bottom of the bag sit better when packed full of groceries.
Lift up the bottom fold of the bag with your fingers inside the fold.
The fold is shown in the pictures, as it is too confusing to try and explain in words!
Pin both sides and stitch.
Now trim the seams very close to your stitching:
Then turn the bag right sides in again making sure your seams are flat.
Stitch along those seams again - a little wider than your regular seam to make sure you completely enclose the seam you trimmed. This completely covers the raw edges and is called a 'French Seam'. It's a neat way to finish seams if you don't have an overlocker (serger)
Turn your bag right sides out and that's the main part done!
The straps
Take one strap piece and fold the long outer edges into the centre. Then fold the whole thing in half again to completely enclose the raw edges. If you find it easier you can iron each step here to hold the fabric in place before stitching.
Then top-stitch along both sides of your strap. Repeat for the other strap.
Attach the straps to the bag
Open up the top of your bag and place one strap approximately in place like this:
Fold the top of your bag inwards about 1cm (0.5") and place the edge of the strap on top edge to edge.
Then fold the top of the bag over once more together with the strap, then lift the strap upwards and pin into place. This way the raw edge is once again completely hidden.
Repeat with the other side of the strap:
Turn the bag over and attach the other strap to the other side of the bag in the same way - matching the placement up with the first strap:
Stitch all the way around both the top and bottom of this seam.
Also stitch an extra box and cross at each handle for extra strength.
That's it! One shopping bag finished!
Ready to fill up with your groceries!
I made 8 bags from one side of the doona (duvet) cover - which was King Size. That is generally enough for my weekly shop.
One of the best things I like about these bags is the long straps so when I'm carrying the heavy bags in from the car I can carry them over my shoulder:
I put all my shopping bags in a small tote (one I made from a pretty net curtain) and try to keep it in the car ready for my weekly shop!
Of course I had to test out this new set of bags for my weekly shop a few days ago!
I always get nice comments on my pretty shopping bags.
I hope you make yourself a set too - I'd love to see pictures from anyone who does!!
Why not make a stylish new handbag to carry all your new shopping bags in to make sure you never forget them again! My new e-book contains the main tutorial and pattern for the handbag (made from old jeans) with a special section just for your shopping bags, plus some extras too! Go here to read more.
If you liked this tutorial, I have over 100 free sewing tutorials for all sorts of different things at all different levels of ability from beginners to experienced sewers:
Happy Upcycling, Sewing and of course Shopping!

.jpg)
.jpg)
.jpg)
.jpg)
.jpg)
.jpg)

.jpg)


.jpg)
.jpg)

.jpg)
.jpg)
.jpg)
.jpg)
.jpg)
.jpg)

.jpg)
.jpg)
.jpg)
.jpg)
.jpg)
.jpg)
.jpg)
.jpg)
.jpg)
.jpg)
.jpg)
.jpg)
.jpg)
.jpg)
.jpg)
.jpg)
.jpg)


