

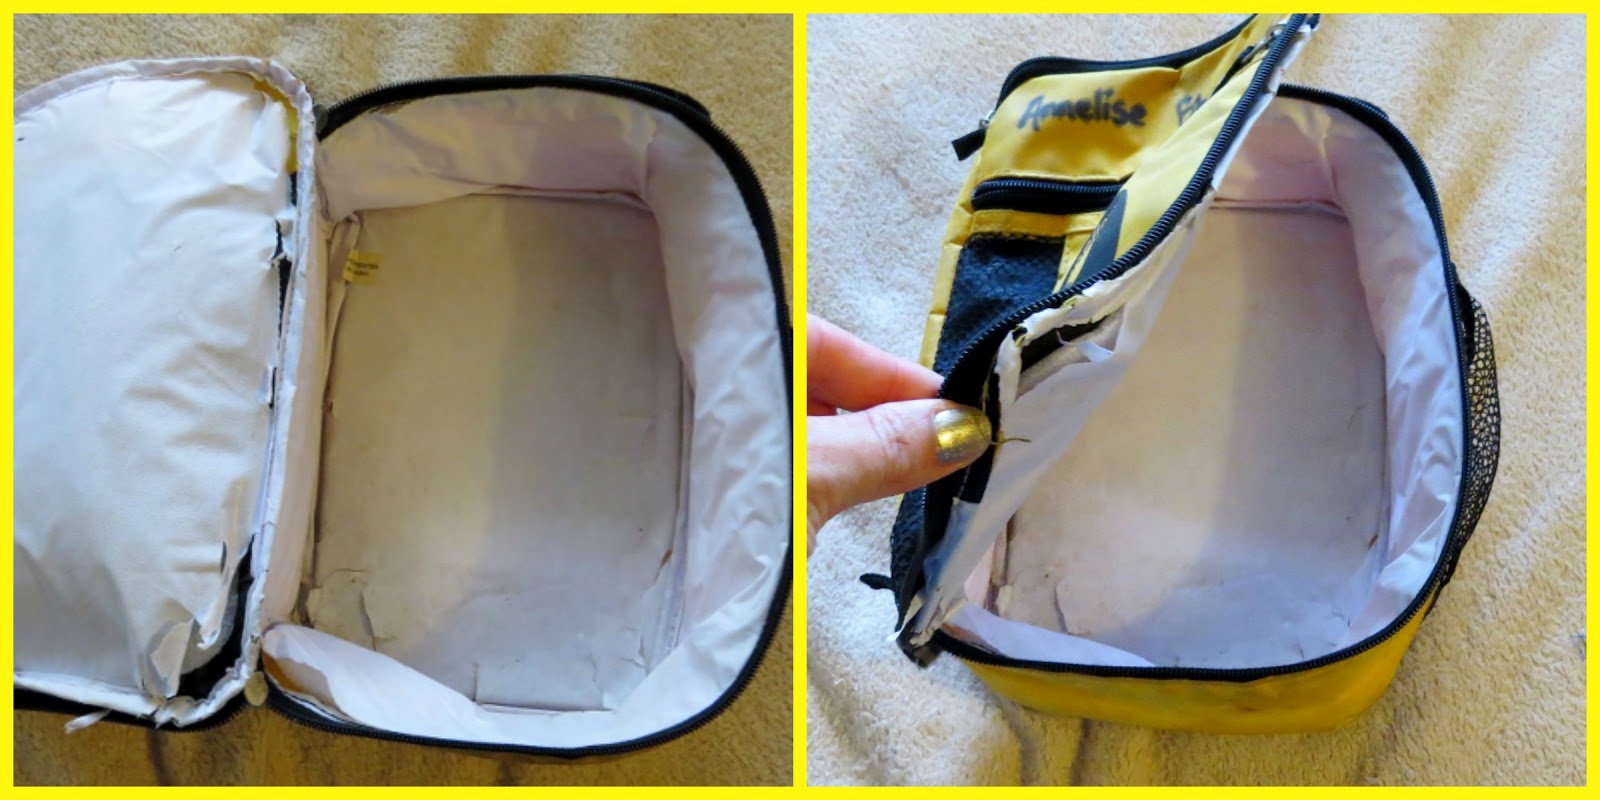
My eldest daughter was in need of a new lunch bag for school this year as her old one was falling apart. So I dissected the old bag and made a new pattern and tutorial to make her a new one.
I made 3 bags in total. For the materials I used waterproof fabric for the outer fabric in two of the bags and rip-stop nylon for the inner fabric. The long zips were reclaimed from the above old lunch bag and old school bags. For the insulating layer between the inner and outer fabric I used foam sheets reclaimed from old lunch bags and some pieces of old silver car windscreen shades. Finally for the handle, I used parts of straps reclaimed from old backpacks.
For the bag I made to produce this tutorial, I used an old pair of jeans and an old favourite nightie of my daughter's for the outer fabric

and for the inner, I used sections cut from an old pool toy - an inflatable ring that somehow got a puncture!

I used the Hello Kitty Pictures from the nightie as applique to add to the plain denim from the jeans for the outer fabric.
The pictures were a little sticky and glittery, so I used a thin piece of tissue paper on the top when I stitched around the edges. this helped the machine foot slide across the fabric better, and when I was finished the stitching the excess tissue just pulls off.


So - here's how to make your own lunch bag.

First cut your materials.
You will need

Outer and Inner fabric
2 main panels each - outer and inner fabric template - click here for free download
1 side panel piece each fabric 62 x 10 cm (24.25 x 4")
1 back piece each fabric 22 x 11.5 cm (8.75 x 4.5")
Extra inner fabric (rip-stop nylon is ideal) for binding the seams.
Foam Insulation (an old car windscreen shade is ideal)
2 main panels - foam template - click here for free download
1 side panel strip 59 x 6 cm (23.25 x 2.5")
1 back panel 18 x 8 cm (7 x 3.25")
Zip
1 zip 62 cm (24.25")
Handle
Piece of webbing (or cutting from old bag strap) 28 cm (11") long and approximately 4 cm (1.5") wide
First of all take your long side outer fabric panel and your handle.
To seal the ends of your handle - heat gently using a lighter to melt, seal and prevent fraying.

Now pin one end of your handle in the centre of the end of your long side panel and pin the other end 20 cm (8") from that edge.

Stitch both ends of the strap into place securely in the shape of a box with cross in the middle, like this:


Now you need to put the 4 panels of your bag together, each piece will have outer fabric, inner fabric and a foam piece sandwiched in between. Make sure the outer and inner fabric pieces are
WRONG SIDES TOGETHER.
Pin around all 4 edges of each panel and stitch together. Use a 2/8" seam around all these pieces. The foam part should sit in the middle and the stitching should run around the outside of it.

Repeat this pinning and stitching the other 4 pieces together.

You should now have 4 bag panels ready to assemble into your lunch bag.

To assemble you first need to attach the zip to the long side panel. Place the zip face down along one long edge of the panel. Then lay a strip of your extra inner fabric (around 4 cm (1.5") wide) on top of the zip (this is to bind the seam and hide the raw edges) and pin through all layers.


Using the zipper foot on your machine stitch along the long edge where you have pinned.
Trim the edges in line with your panel.

Now to use that extra strip of fabric you just attached to the zip to bind the seam and hide those nasty raw edges.
Basically you double fold the fabric over the seam and pin it to hide the raw edges. The finished seam will stick out from the other parts but will be fully enclosed.

Now to join the small back panel to this long side panel. Place one edge of the long panel right sides together with one edge of the back panel. Once again as you pin these together, add a strip of fabric to bind the seam afterwards. Now you need to start making your seams 3/8" to make sure you hide all your previous stitching.

After stitching the pieces together, fold the binding fabric double over the seam, pin and stitch to hide the raw edges.


Now join the other ends of both the side and back panels together - make sure they are right sides of the outer fabric together, and once again add a strip of binding fabric and enclose the raw edges of the seam.

You should now have the outer edge of your lunch bag ready to attach to the two main panels. First the base.

Pin one of your main panels right sides together to the bottom of your bag side panel (the edge without the zip!)

Stitch all the way around.

Now is where you add your fabric to bind the seam. Pin, then stitch, a strip all the way around the seam you just stitched. Fold and overlap the edges of this binding strip so there is no raw edge showing where they join!

Then double turn it over and stitch to enclose all the raw edges. Your bag should now look like this.

Finally you can attach the top panel to your bag. Open the zipper and pin the zip edge and top of the back panel to the top panel of the bag,. Right sides together.


Once you have stitched all the way around, it's time to add one final strip of binding to enclose your last seam and raw edges.


Once you have finished this binding, your lunch bag is finished!

Here are the three bags I made together.


Which is your favourite? Mine is the Kitty one in the middle - mostly because it's made from so many different parts and so has the best 'story' - old clothes for the main fabric, the zip from an old school bag, the lining from an old pool toy, the foam insulation from old lunch bags and car windscreen shades and the handle from an old backpack! Awesome!!

My girls both like the the green and brown one with the turtles and leaves in the design of the fabric!
For the free downloadable PDF version of this tutorial, click here.
If you liked this tutorial, then take a look at the other free sewing tutorials I have available here. There are over 100 for all kinds of things to make and all levels of sewing ability!

For example you could make a coordinating water bottle carrier to go with a lunch bag for back to school!


Thank you so much for sharing your tutorial with us. I will be making them for charity as this is my passion. Thank you so very very much.
ReplyDeleteYou're so welcome Sue! Have fun sewing them - I certainly did - and I'd love to see pictures of any that you make!
DeleteYou are amazing, Jill... these lunch bags are stupendous! As you say, the "Hello Kitty" version speaks the most to the idea of reuse and recycling, but I have a soft spot for the one with the map fabric.
ReplyDeleteThanks so much Rochelle! Yes, I like the map one too - my daughter used it for school this week and her friends loved it too!
DeleteThese are SO COOL! Who can't use a lunch bag, even while out and about on errands or for a picnic? And the possibilities with these are endless! Pinned.
ReplyDeleteThanks so much Lisa!
DeleteHi Jill. Just wanted to let you know your lunch bag tutorial is Featured at Super Saturday--a post of awesome blogs and posts we have found this week. Hope you can stop by:). http://twochicksandamom.blogspot.com/2016/01/super-saturday-2.html
ReplyDeleteThanks so much for the feature Donna!! What a lovely surprise! :)
DeleteJill! This is exactly the tutorial I have been looking for. Now that I need to eat gluten free, I love having my own goodies bag with me wherever I go, so I am no longer tempted to eat the wrong food. I have lots of these 'old lunch thingies' but none that I can stylishly take to the office. Here's my answer. Will you come link this up at today's linky party on my blog www.FineCraftGuild.com ? Thanks!!! - Rose
ReplyDeleteThanks for your lovely comment Rose! I shall come over and link up to your party!! :)
DeleteGreat idea. It looks great, Thanks for sharing.
ReplyDeleteThanks Sonja!! :)
DeleteThis project turned out so cute! I'm sure your daughter will treasure this gift. Very clever!
ReplyDeleteThank you for sharing with us at Thursday Favorite Things Blog Hop
Olivia- Co-hostess
Reinvented Collection
Thanks so much Olivia!
DeleteOh, you're so clever Jill. I love these. I'm so going to give this a go once my kid's lunch bags have had it. They're still on last year's ones so hopefully they'll last a little longer. I'm featuring this post at tomorrow's party. Always great to see you.
ReplyDeleteAnne xx
Thanks so much Anne! Do let me know if you make some of these - I'd love to see them! :) And thank you very much for the feature too.
DeleteVery impressive up cycling. Love it x
ReplyDeleteThank you!! :)
DeleteOh Gill you are so clever, another wonderful idea and a really useful upcycle out of nothing. I don't know how you come up with the ideas but every time I see one I wish I could sew. No one in school will have a bag like this, how lucky your daughter is with a coordinating drinks bottle too. A lovely set of instructions too, I certainly have all the materials for this, now to actually try! Thank you so much for sharing with me over on #Trash2Treasure
ReplyDeleteThanks so much Fiona! I love the challenge of being able to use materials I have on hand for my projects!
DeleteThese are fabulous, I love all of them. The water bottle holder is fab too. Great tutorial - Pinning!
ReplyDeleteThanks Sarah!! :)
DeleteSo cute! Thank you for sharing on Meetup Monday!
ReplyDeleteThanks Christine!
DeleteWhat a great idea! Now I know how I will reuse old jeans. Thank you for sharing!
ReplyDeleteThank you!
DeleteYou did a great job with the lunch box.
ReplyDeleteThanks for sharing this at Cooking and Crafting with J&J.
Thanks so much Julie!
DeleteThis is such an adorable idea!
ReplyDeleteThanks for joining Cooking and Crafting with J & J!
Thanks Jessica!
DeleteI love this Hello Kitty lunch bag, and the water bottle carrier looks great, too! This is such a great upcycle project! Thanks for sharing at Submarine Sunday!!!!!
ReplyDeleteThanks so much T'onna!! :)
DeleteA fabulous tutorial, Jill. My favourite is the one with the map.
ReplyDeleteThanks Pam! It's great fabric isn't it!
DeleteI missed this the first time around! it is awesooooome, I love that you used the pool toy, and loooove the idea of using a car windscreen shade for the insulation.
ReplyDeleteThanks Michelle! We get a lot of broken pool toys, so I'm always looking for something to do with them!
DeleteJill such a great tutorial, I'm almost hoping my kids lunch bags will break now!
ReplyDeleteHa! Thanks Emma!
DeleteYour daughter must be thrilled at every lunch! Very nice work.
ReplyDeleteThanks Kimberly!
Delete