

I wanted to make small cases for an upcoming plane trip to Sydney, so my girls and I can take our MP3 players to listen to some music or audio books. We currently all have MP3 players, but I'm aware that a case I sew is likely to outlast the electronic gadget itself, so I found the dimensions of iPods, and made cases that will fit these in, so we're prepared for if and when we have to upgrade!!
They're also just a useful little pouch that could be used for a mobile phone, or any other small objects, snacks etc!!

So here's how to make your own:
First you need your materials. I wanted to use some denim, after starting last week to use up a pair of jeans I got from the charity shop for 50c!

The back pockets are already gone and transformed to pot holders!
For this project - I used the back of one of the legs! and some other scraps of fabric I had.
So here's what you need:

2 pieces outer fabric, 15 x 10cm (6 x 4")
2 pieces inner fabric, 15 x 10cm (6 x 4")
1 strip inner fabric for decorative strip 15 x 6cm (6 x 2.5")
1 strip inner fabric for keychain loop 15cm x 4cm (6 x 1.5")
1 zip, 15cm (6") or longer
1 keychain ring
buttons for monogram letter
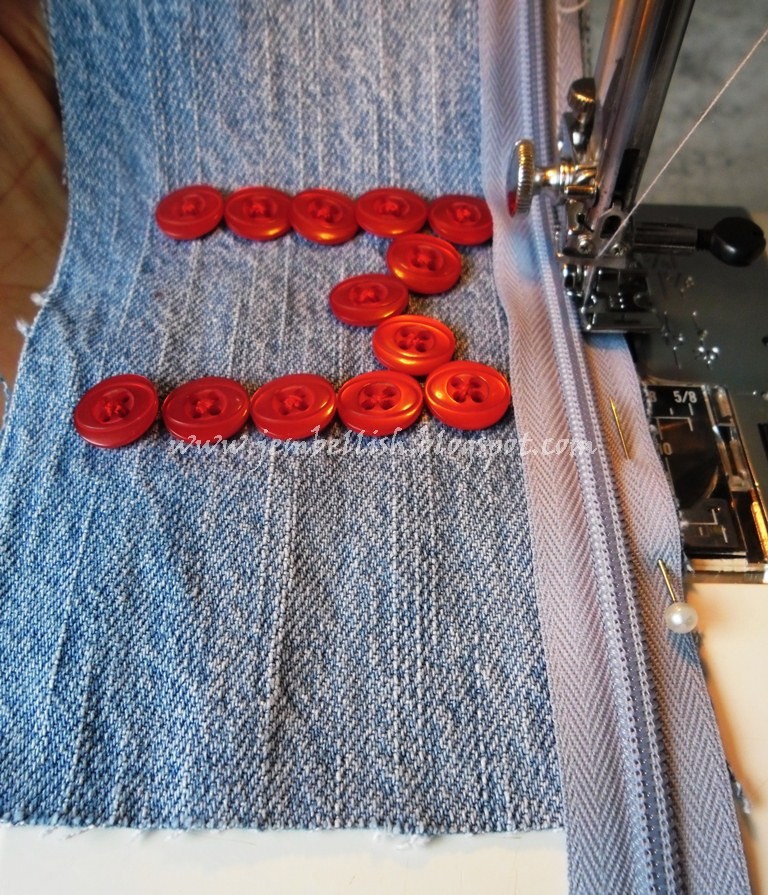
First put the decorative bits on your outer fabric.
Draw the letter outline centrally on one outer piece using a pencil, then stitch the buttons into place along the lines:

Fold the outer edges of your decorative strip of inner fabric in and press. Then pin and topstitch to the centre of your other outer piece of fabric:


Now you add the zip.
Place the zip face down centrally on one of your outer pieces of fabric - which is face up. I used a zip that is much wider than the fabric - just let the edges hang over - you will trim them later.

Then using the zipper foot attachment on your machine, stitch the zip in place:
Then turn the zip over and topstitch the outer fabric to the zip to hold in place.

Now take on of your inner pieces of fabric. You are going to join this to the same side of the zip.
Lay the inner fabric down, right side facing up. Lay your outer fabric plus zip face down on top of this with the zip in between the layers and pin along the narrow edge at the top as shown here:

Again using the zipper foot, stitch these pieces together along the narrow strip you just pinned:

Then open it out and top stitch the inner fabric to the zip:

Now you attach the other two rectangles of fabric to the other side of the zip.
First, lay the 2 pieces plus zip you just stitched, right sides facing up with the zip also lifted up - the free edge at the top. Then place your other piece of outer fabric face down on this and pin the edge to the other side of the zip:

Machine stitch where you pinned - again using your zipper foot. And once again flip the fabric over afterwards and topstitch to the zip.
Then to the final inner piece of fabric:
Lay this final piece down right side facing up, and then your other 3 pieces plus zip on top, with the zip facing down between the layers.
Pin along the top, and stitch into place:

And once again, turn the final piece over and topstich to the zip.
Now to the keychain tag.
Take your final strip of inner fabric.
Fold in half lengthways and iron:

Then open this out and fold the outer long edges to the centre fold and press again:

Then finally fold the whole thing in half lengthways so the raw edges are hidden, and press.

Topstitch along both long edges, and put this with your keychain ring:
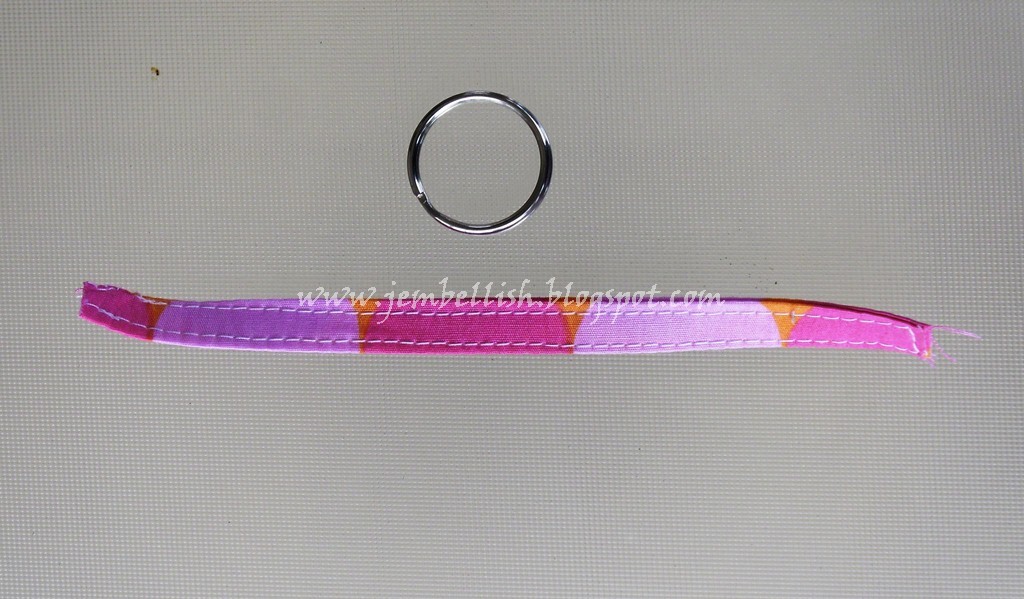
Push this fabric strip through the ring and fold the strip in half. Then pin the edges to one side of an outer piece of your case like this:

And stitch securely in place with several rows of machine stitching:

You're nearly done!
Time to stitch it all together around the edges.
Fold the case so both outer pieces of fabric are together - right sides facing, and both inner pieces of fabric are together - right sides facing.
Make sure the zip is OPEN - this is very important!!
Then pin around all the edges, leaving a gap of around 5cm (4") for turning it out at the end:

Machine stitch around all four edges - remembering to leave the gap open, and running extra stitches over both ends of the zip.

Trim the corners and the ends of the zip:

Now turn it all right sides out through the gap you left:


Use your scissors or a chopstick to push the corners out fully.

Then handstitch the opening closed:
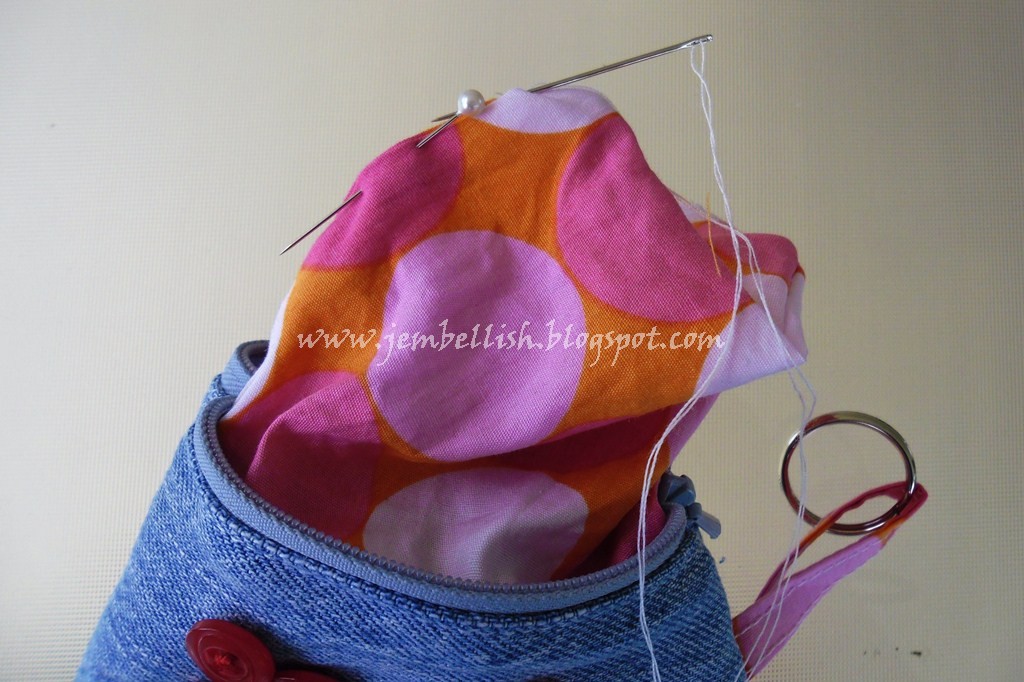
All done!
Your case is ready for use!


I made 3 - so we're all set for our trip now! They fit in our MP3 players, earphones and even the USB charger so we can charge them up again for the return flight!


Perfect to clip to my keys, and keep everything together and easy to find!

For the downloadable PDF version of this tutorial, click here.

I hope you liked this tutorial.
There are many more on my tutorials page too!


Brilliant idea Jill and a great tutorial!!
ReplyDeleteMichelle :o)
Thanks Michelle! I'm already using my little case every day!
DeleteThank you Jill for such a wonderful tutorial. I bookmarked this page to try in the future. :)
ReplyDeleteThank you! I hope you do try it! Send me a picture if you do! I'd love to see it!
DeleteGreat job, Thankyou for sharing Jill!
ReplyDeleteThat is the best tutorial I have seen for adding a zip - ever! :D Thank you for explaining it so it makes sense to my poor zip-challenged brain Lol! I think this is one project I could actually tackle without messing up :D and as I have lots of brothers with ipods etc plus my hubby who also mentioned recently he needed a pouch to put his phone in while he's photographing (no more dropping his phone out of his pocket) this would make a perfect gift for him too. I'm definately bookmarking this page too :D Thank you! <3
ReplyDeleteThanks so much Kate! Hope you have fun sewing some cases yourself!
DeleteI agree with Kate... a very clear explanation re inserting a zip. Not only do these look cute as, they are SO practical, Jill. Great idea to add the keychain tag. Thanks for linking up...
ReplyDeletethis is beautiful and seems like easy to make. i still can't start learning sewing all the way. i like your tutorials very much and will use them once I think about sewing seriously. Have a great day! Anna
ReplyDeleteThanks so much Anna! I always appreciate your beautiful comments!
Deletethis is beautiful but I do not see a PDF download for this item. Please email me at YummyLv@aol.com
ReplyDeleteHello this is a great idea and I was looking for one. What are the dimensions of the finished bag? If I wanted to change the size how much do you add for seams and whatever else to the size you want it to be?
ReplyDeleteHi Amber,
DeleteThe finished bags I made are around 14 x 9cm (5.5 x 3.5"). You can make them whatever size you want, Cut the main rectangular pieces about 1cm (0.5") larger on each side than the actual bag size you want.
Hope that helps! Happy sewing.