


First cut your materials:
You will need
1 piece outer fabric: 21cm x 18cm (8.5" x 7")
1 piece inner fabric: 21cm x 15cm (8.5" x 6")
1 piece inner fabric: 21cm x 10cm (8.5" x 4")
1 piece outer fabric (for flap): 15cm x 6cm (6" x 2.5")
1 piece interfacing: 21cm x 9cm (8.5" x 3.5")
1 piece sew in velcro 4cm (1.5")
scrap fabric squares for flower - approx 8cm square (3.5")
1 large button

Take your 2 inner rectangles and the outer fabric for the flap and fold in half lengthways.
The inner fabric right sides out - the flap piece right sides together.
Press.

Top stitch along the pressed fold of the inner fabric pieces.

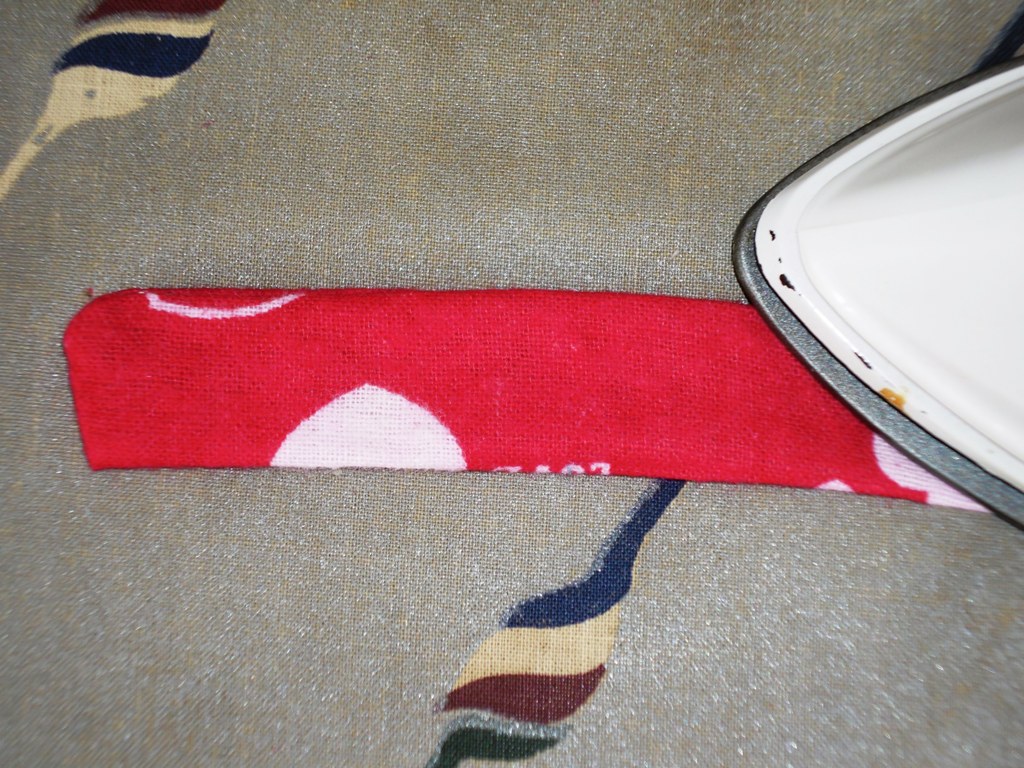
Stitch along the length and one end of the flap piece.

Then using a chopstick or pencil, turn the flap inside out.

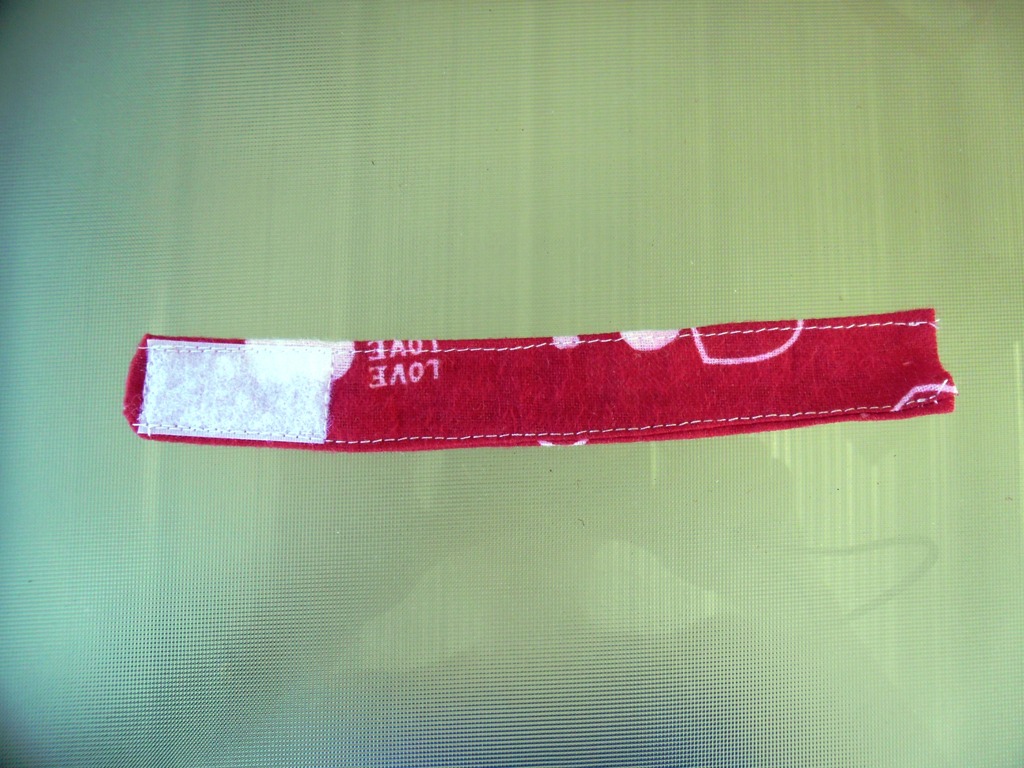
Press flat, then add one piece of the velcro at the closed end of the flap, and top stitch all the way around both the velcro and the flap.
Next you need to make the flower embellishment.
Take one of the square scraps of fabric fold it in half diagonally - right sides out:

Then take a needle and thread, knot the end of the thread, and run a running stitch along both open ends of the triangle you now have, and pull the thread to create a 'petal'.


Now repeat this with a different coloured scrap square - and stich using the same thread.


Keep going with alternate scrap squares until you have the size flower you want.

Add your button to the centre of the flower to hide the raw edges.

And stitch the whole flower to the back of the flap where the velcro is.

Now you need to put all your pieces together.
Lay the pieces flat on top of each other like this - with the interfacing on the bottom.
Pin the velcro and the strap centrally to the top part and trim the end of the strap in line with the edge of the main part of the wallet.

Stitch all pieces in place around the edges. Then run a line of stitching down the centre of the inner pockets where the wallet will fold.
Now fold the top part of the wallet down and pin around the edges.

Then stitch, leaving a gap to turn out through.

Carefully turn the whole wallet -right sides out, and press flat.

Then top stitch around the whole wallet:

And you're done! Ready to put in your store cards!

For the downloadable PDF version of this tutorial, click here.
If you enjoyed this tutorial, I have over 100 free sewing tutorials for all levels of sewing ability. To browse through them, go to
My Free Tutorials Page.

If you enjoyed this tutorial, I have over 100 free sewing tutorials for all levels of sewing ability. To browse through them, go to
My Free Tutorials Page.


SO adorable Jill, and as usual your tutorials are amazingly detailed, and simple to follow.
ReplyDeleteNaturally I'm pinning this to my I wish I could sew board, he he.
Love the little flower!!
Hugs, Bella :)
**AMAZE ME AUGUST** @ Bella Before and After Any projects, recipes, diy welcome.
**PARTY PLANNING TUESDAYS** @ Euro Style Cakes. All your party planning tips, decorations, invitations, and recipes welcome at my NEW party.
Jill, that is SO cute! I love your two-tone flower, really adds a uniqueness!
ReplyDeleteCute, your fabrics are fab!
ReplyDeleteGreat Tutorial Jill! Thanks. I'm going to give this a go.
ReplyDeleteM xx
The wallet is so cute! I also love the design. Thanks for sharing this!
ReplyDeleteSo easy to make. And so quickly.
ReplyDelete