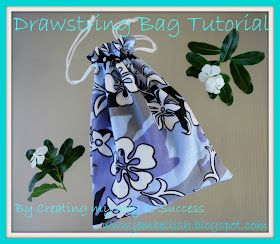
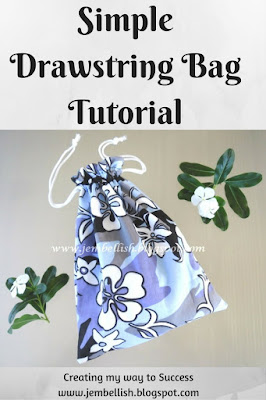
This is a tutorial for a simple, lined drawstring bag. I made this one for my husband's hair clippers, which for the past few years have been kept in a plastic bag, which is now starting to rip and bits are falling out of the bag!
Now - I sew a lot, and sew a lot of bags, particularly for my girls to keep all their things in. So really it's quite shameful that this storage in a plastic bag has gone on so long!
Well no more! I whipped up this little bag yesterday and threw out the ripped and torn old plastic one!
Do you have things stored in boring old plastic bags? How would you like to make some cute new drawstring bags to keep them in instead?
Here's how!
1. First find some fabric for the outside and inside of your bag, plus some cord for the drawstring:
2. Now to choose the size, lay on top of the fabric what you would like to keep in the bag, and cut around it in a rectangle!
Remember if things are bulky to allow plenty of space at the sides and bottom of the rectangle!
My bag piece was 36 x 28cm (14 x 11").
Cut 2 pieces from each fabric this size:
3.Now place the inner fabric pieces right sides together and pin around 3 sides.
Leave a gap of around 10cm (4") on one side.
Then stitch around where you have pinned.
4. Now repeat this with the outer fabric, but this time leave two smaller gaps near the top of BOTH sides of the bag, around 2.5 cm (1") from the edge, and the gap should be around 2.5 cm (1") too:
Stitch around the 3 edges, making sure to leave the gaps at both sides. This is where the drawstring will fit through!
5. Now clip the corners of both the outer and the inner bags.
Then turn the outer bag right sides out and push into the inner bag:
6. Pin the openings of both bags together..
...and stitch all the way around:
7. Now find the gap you left in the side of the inner bag, and pull the outer bag through this to turn the whole bag right sides out:
8. Pin and stitch the opening closed:
As this is the inside of the bag that no-one will see, I just machine stitched it. But if you wanted you could hand stitch it which would be a little neater!
9. Now push the inner bag into the outer bag and iron the opening.
Then using two rows of stitching, go around the whole bag on either side of the small openings you left in the outer bag. This is making the casing for the drawstring:
For the second row, the edge of the bag was past the measurements on my machine - so I used a tip I read recently and used an elastic band to keep my line of stitching straight!
10. Now all you need to do is thread your cord through the casing:
You need two pieces that are long enough to go around the whole opening of the bag plus around 10 cm (4") extra:
Use a large safety pin or a nappy pin to push the cord through the opening, all the way around the bag and out through the same side:
Then tie the two ends together:
Repeat this with the other length of cord from the other side of the bag:
And there you have - one fully lined cute drawstring bag to store things in!
Much better than an old, ripped plastic bag!!
You can make them whatever size you need! I'm sure as I work my way through organising my house, I'll find the need for a few more of these bags!
For the downloadable PDF version of this tutorial, click here.
If you liked this tutorial - there are over 100 more sewing tutorials to suit all levels, and to make all sorts of useful and fun things - on
Do go and take a look!


Great tutorial! Pinned for future reference. :)
ReplyDeleteMUCH better than the plastic bag, Jill!!!
ReplyDeleteYour fabric collection was unique and attractive for me. I would like to use your collection and Send gifts to Pakistan to my little sister.
ReplyDeleteAnother great looking bag, thanks Jill for such a detailed tutorial. Have a great day!
ReplyDeleteThank you for this beautiful tutorial.
ReplyDeleteThank you so much for this! You covered the little details I was always unsure of when sewing lined bags, like where to leave gaps to turn right side out! The photos and instructions are very clear and thorough. The best!
ReplyDeleteWendy
Thank you so much for your TIC TAC TOE crosses and naught game tutorial. Made it with drawstring bag to hold the game in. love it. was thinking perhaps the pieced could use the loop end and the board hold the hook end of velcro for travel Tic Tac Toe or for even around the house with toddlers. I used non toxic washable fabric paint for the xs and os. trouble shooting came up with that. put batting in little 2x2 squares of denim with a drop or two of essential peppermint oil, also with the padded game board and put tic tac toe at the top in red fabric paint. Came out really pretty cool. gift for grandsons. used twine for drawstring with beads in red and green, glued the knots. THANKS SO MUCH FOR SHARING!! first drawstring bag! cotton has to be easier than denim. will try that next. <3
ReplyDelete